Download, Installation and Packaging
How to download and install the Off World Live Toolkit for Unreal Engine and package it with your projects/ apps
Last updated About 1 month ago
How to Register an Account
Go to the Download Center and click
Free Download: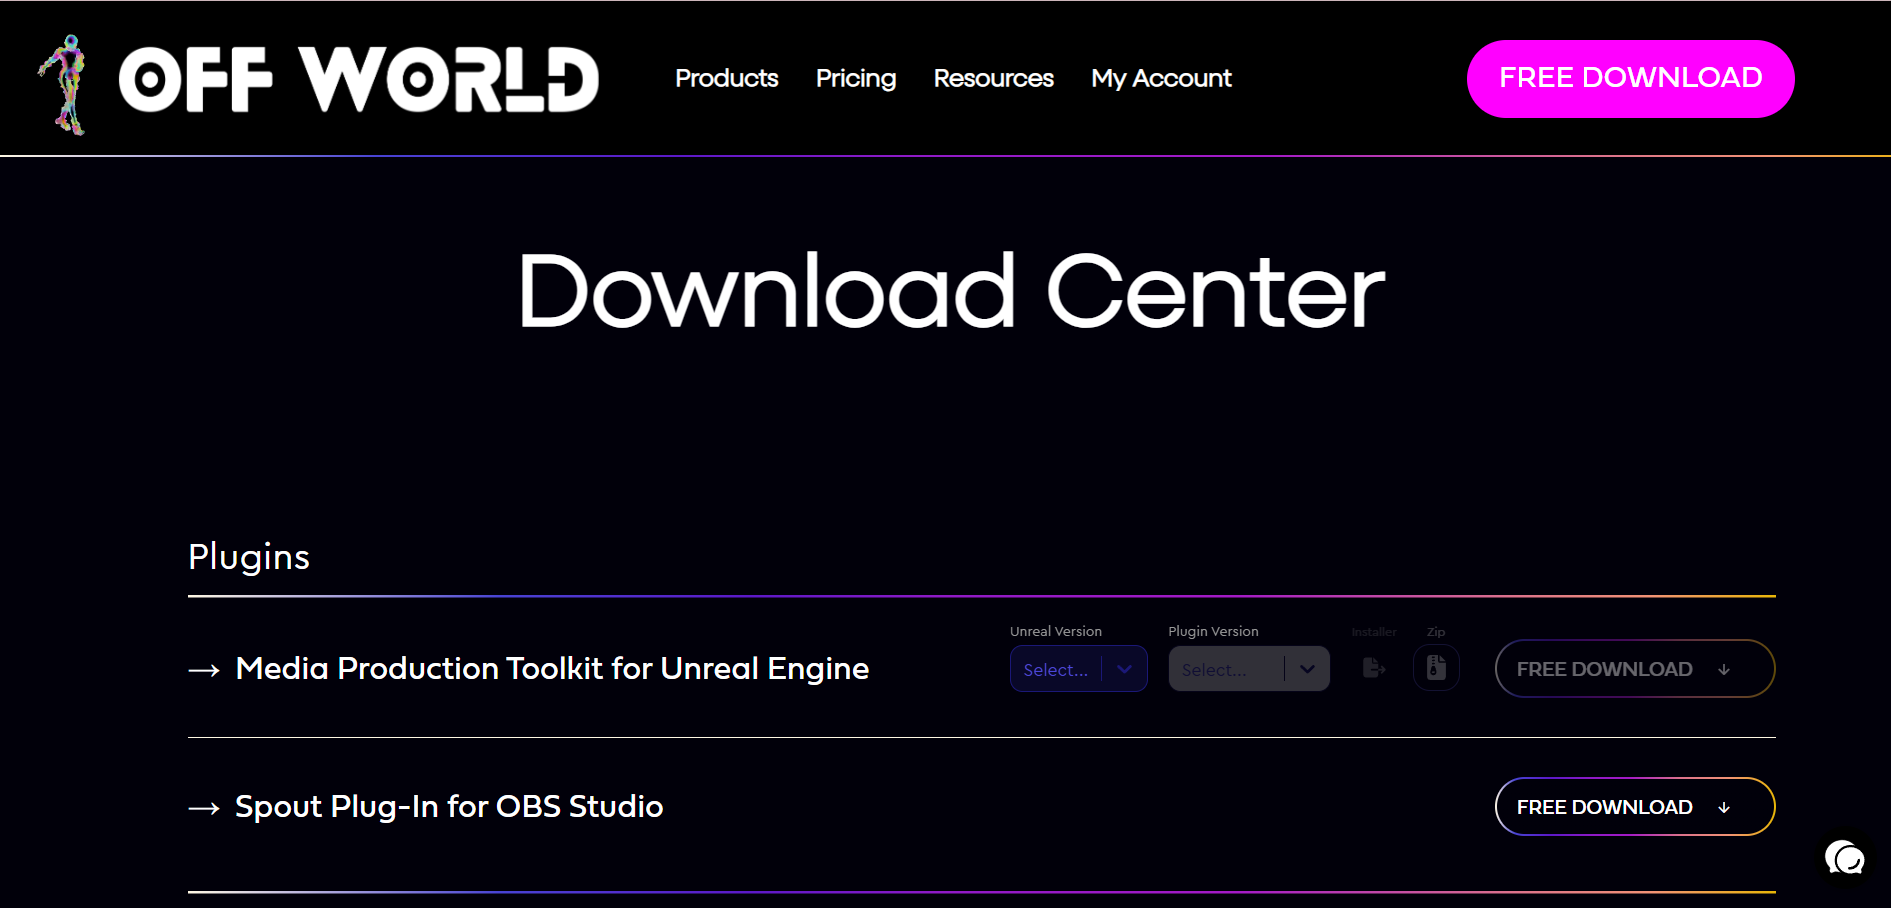
Enter your email, use case and agree to the EULA, and click
Download: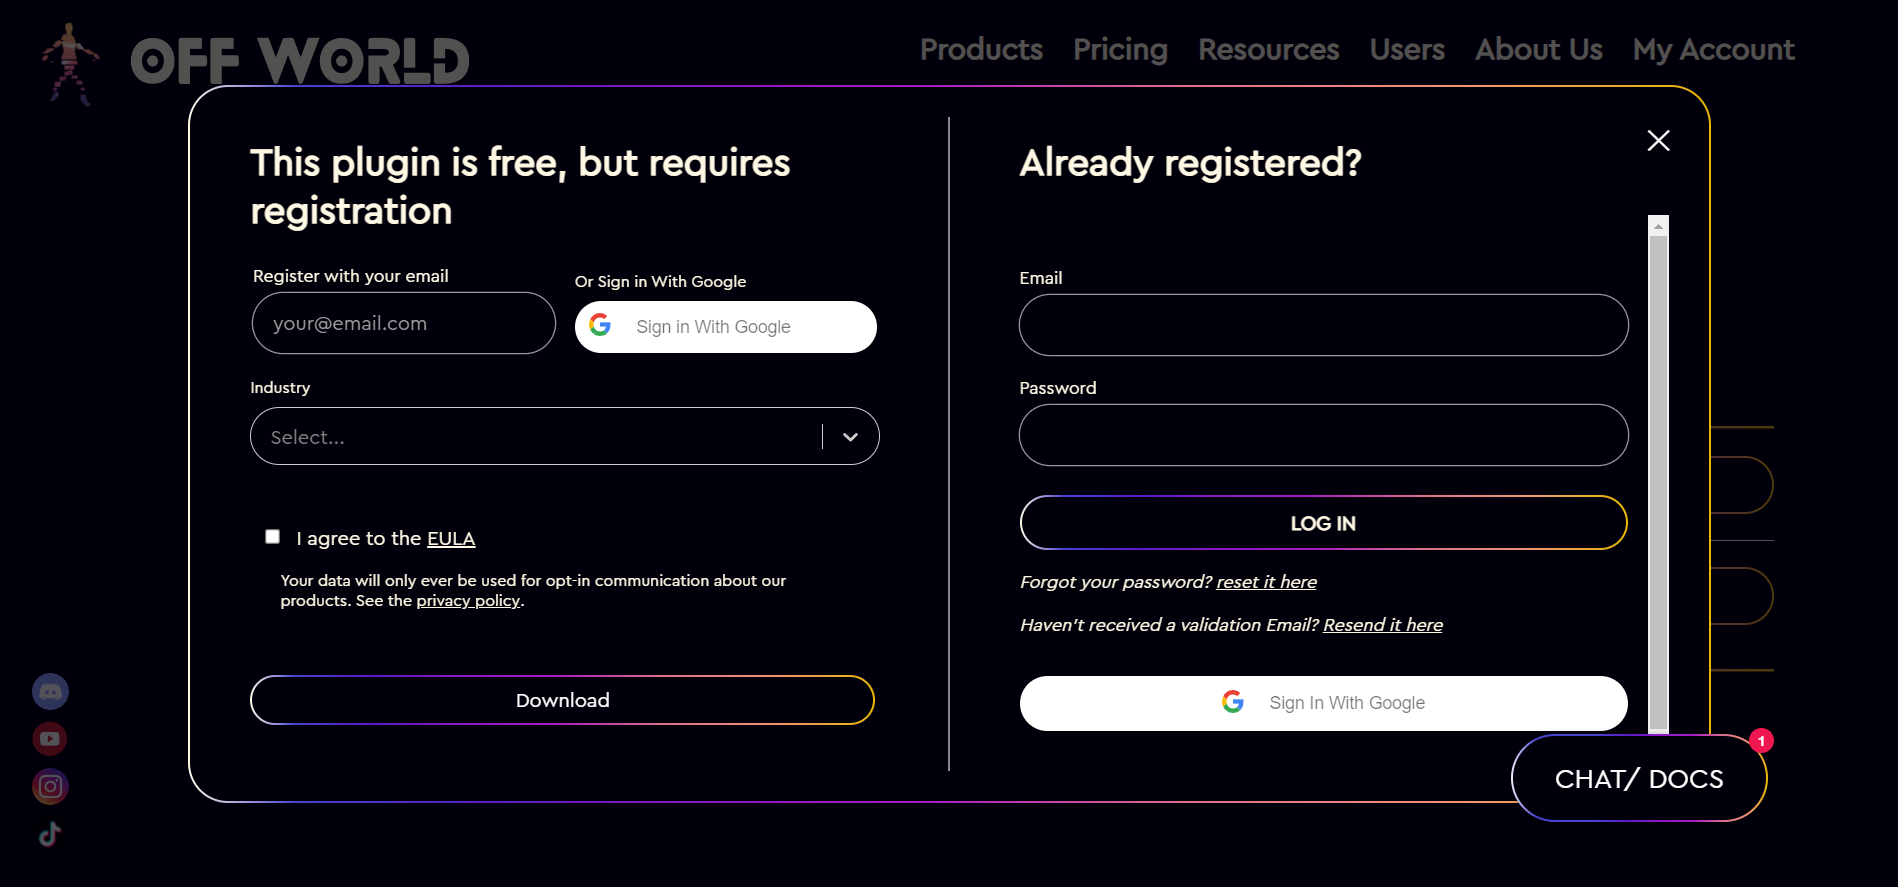
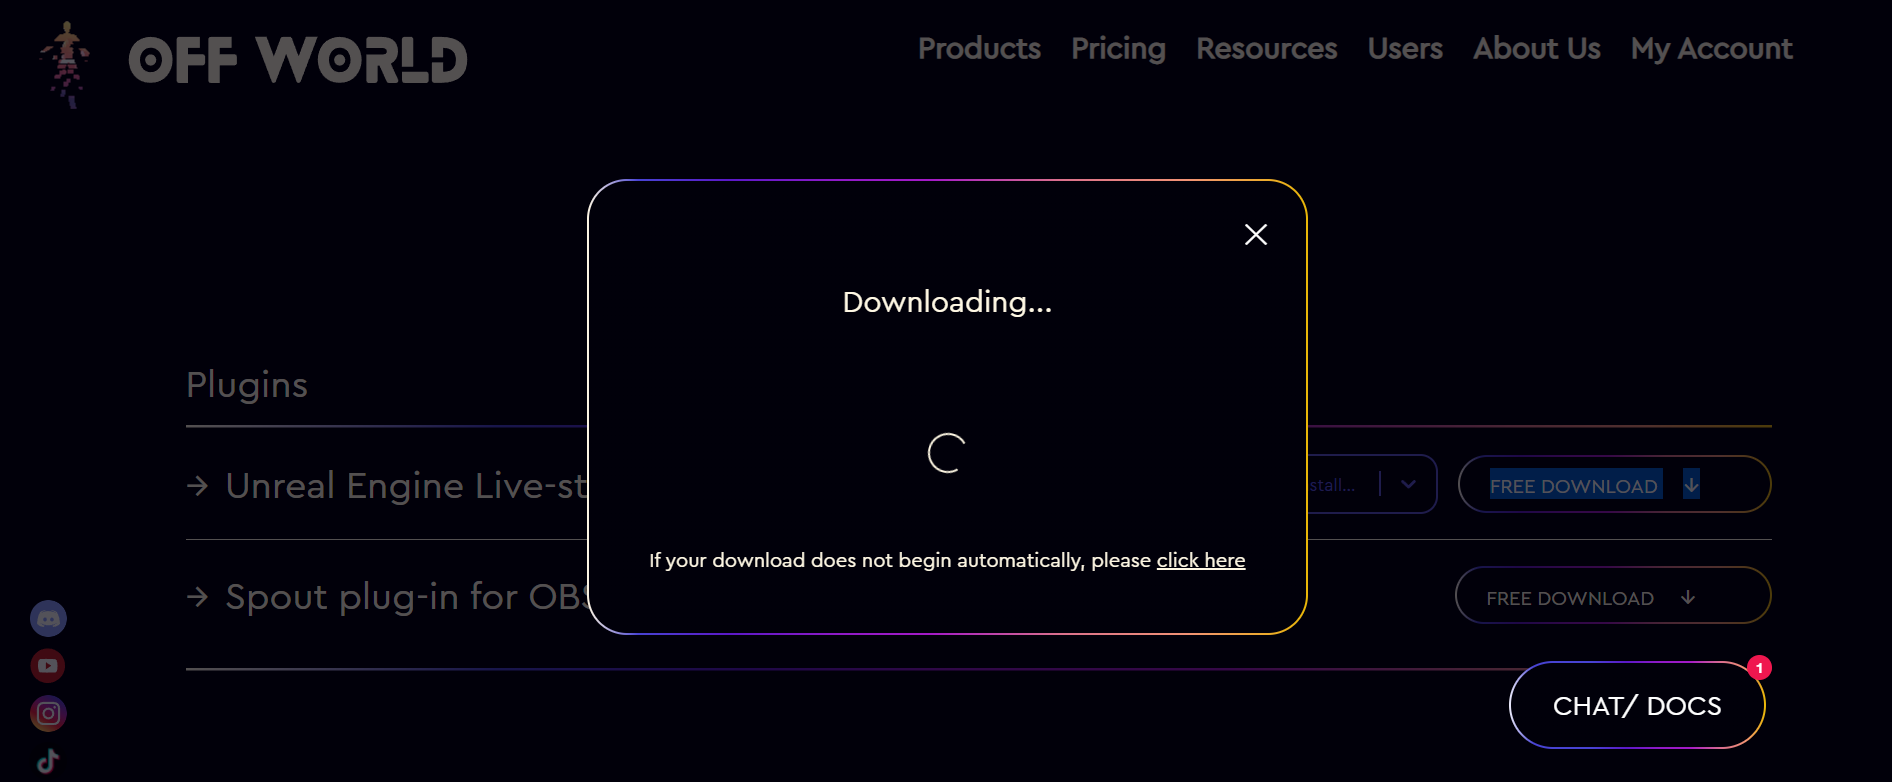
The plugin will automatically start downloading and you are now registered to use the Toolkit:
If you have signed up with an email (not google SSO) please validate your email address to continue using the Toolkit.
You can now installer the Toolkit using the installer or zip.
System Requirements
In Unreal we are only fully compatible with DirectX12 Graphics API and Shader Model 6 (SM6), which are the default settings from Engine version 5.1 onwards.
Our software is only compatible with Windows 10 or 11, no other operating systems are supported.
In general you can use NVIDIA, AMD and Intel GPUs but we recommend to use NVIDIA and our
Media Output Encoderis only compatible with NVIDIA GPUs.You will be able to use our software with the equivalent of 10-series NVIDIA GPUs onwards but if you want to do high performance streaming and rendering we recommend more advanced hardware.
A suggested personal machine would be: 5090 NVIDIA GPU, 9950X3D AMD CPU, 96GB DDR5 AMD EXPO compatible RAM >5600Mhz (2 DIMM sticks) plus other components with comparable performance.
Installation using the Installer
Using the installer will install the plugin to the Engine folder of your Unreal Engine version. If you need to package your project then you will need to install the plugin to the Project folder using the zip file installation method.
Select the Installer for the Plugin version you need from the Download Center:
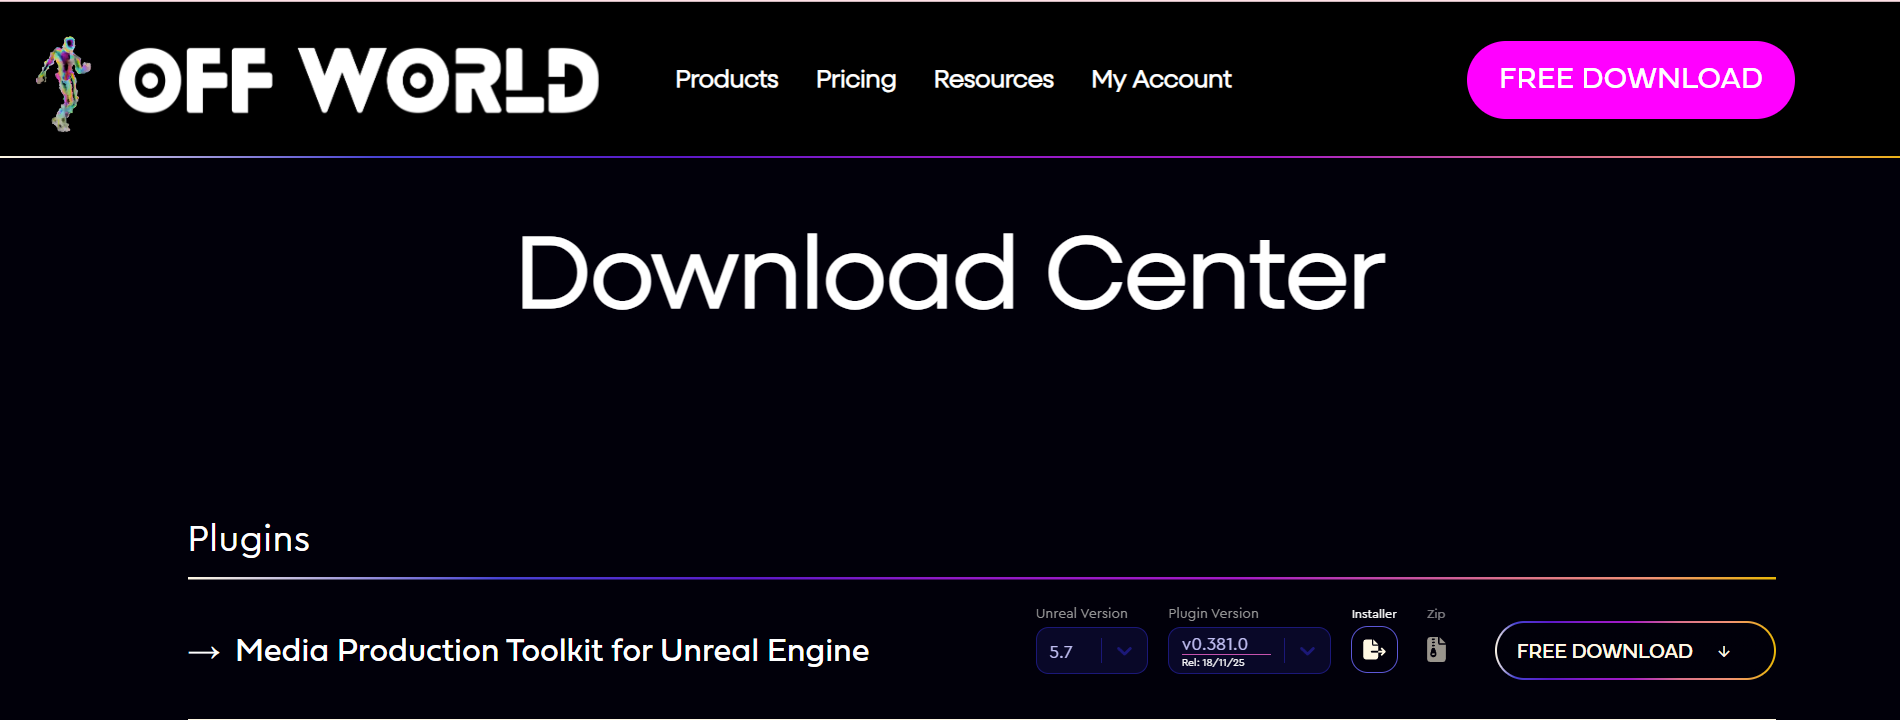
Click
Free Downloadand input your login/ sign-up details if required:
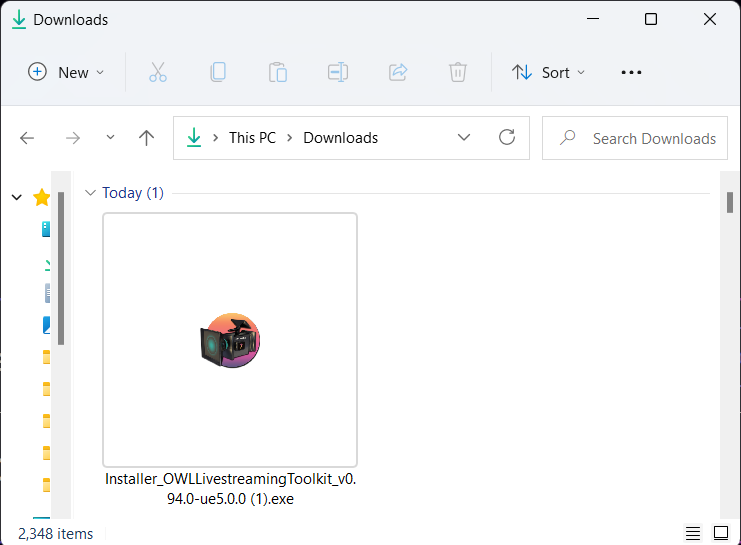
Find the Installer in your Downloads folder and double-click:
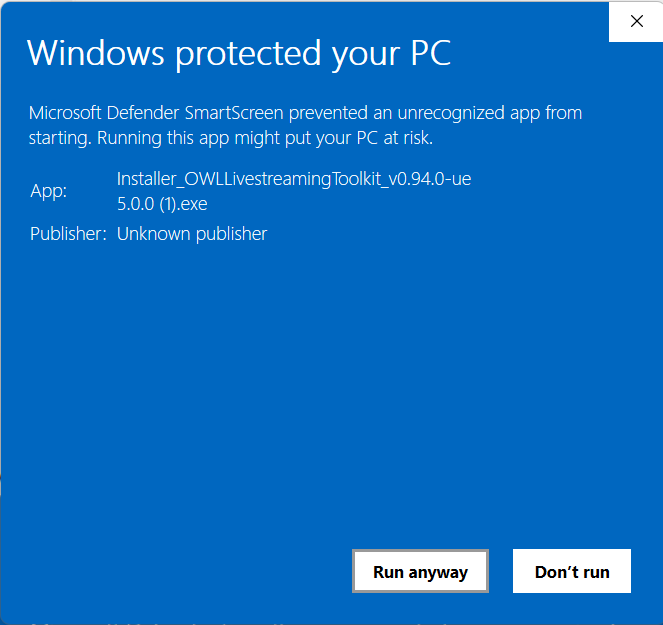
If the Windows Smart Defender warning arises click
More infoand thenRun Anyway: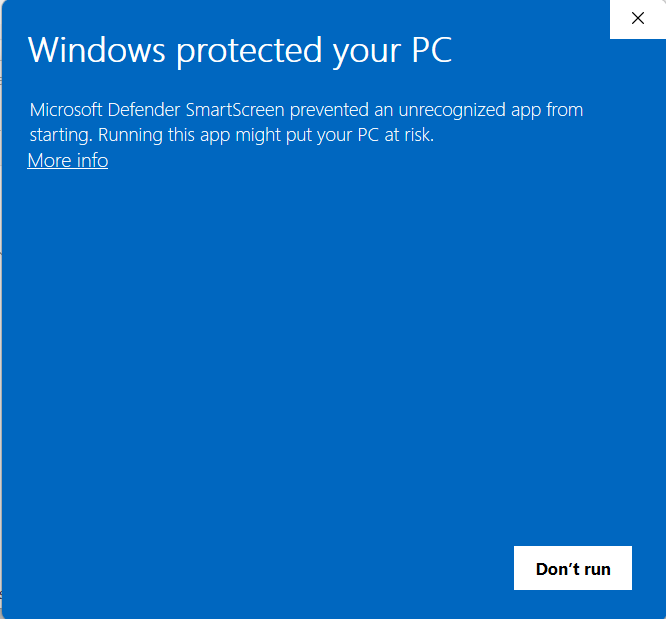
Click through to the Installer and the click
Nextto begin: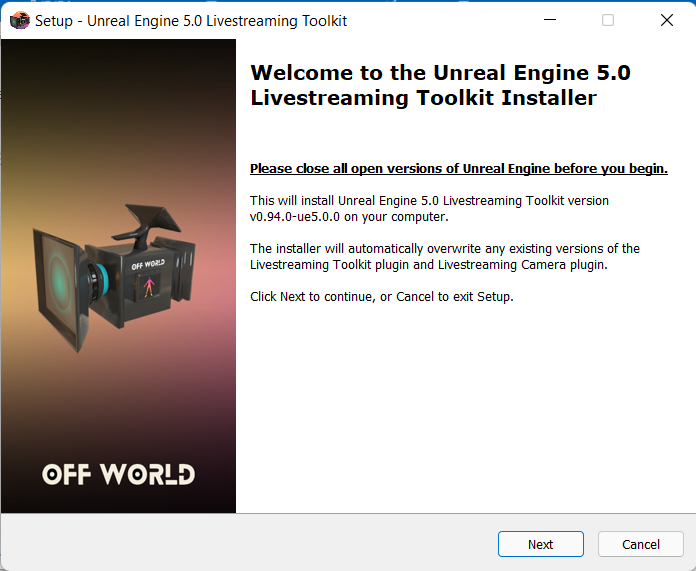
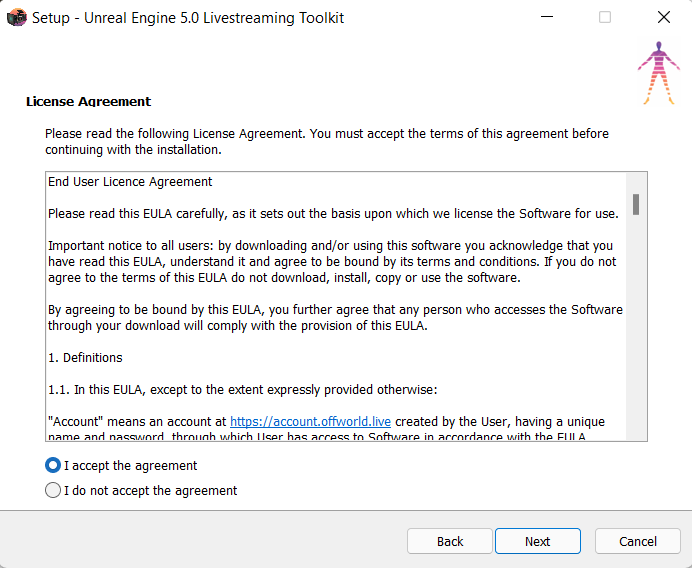
Read and accept the EULA:
Click
Browseif your Unreal Engine is not installed in your C Drive:The Toolkit needs to be in: [
YOURDRIVE]:\Program Files\Epic Games\UE_5.0\Engine\Plugins\Runtime\OWLThen click
Next: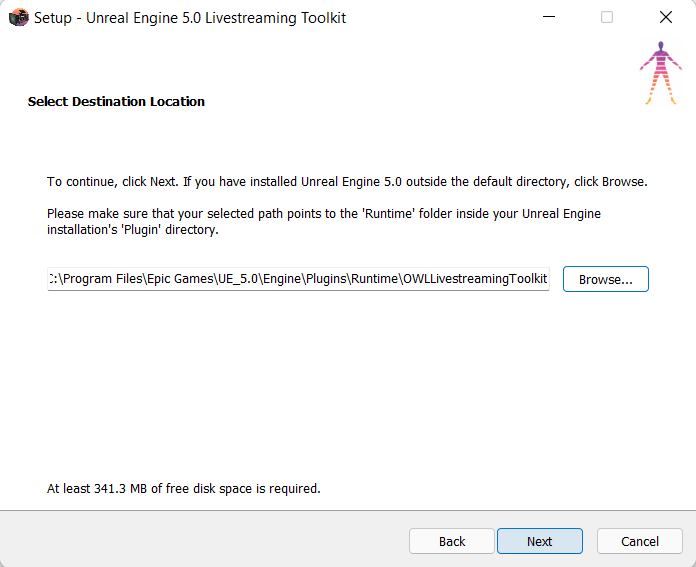
Double check that the install location is correct (the correct Drive where you have Unreal Engine installed) and click
Install: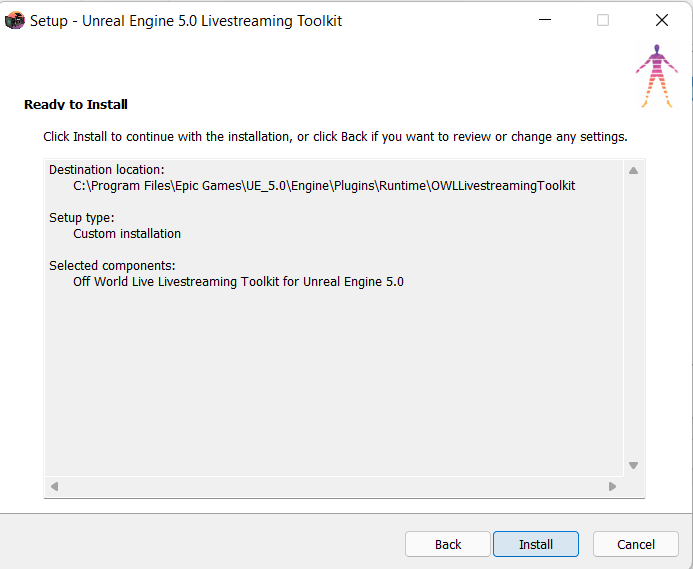
Click
Finishto exit the Installer: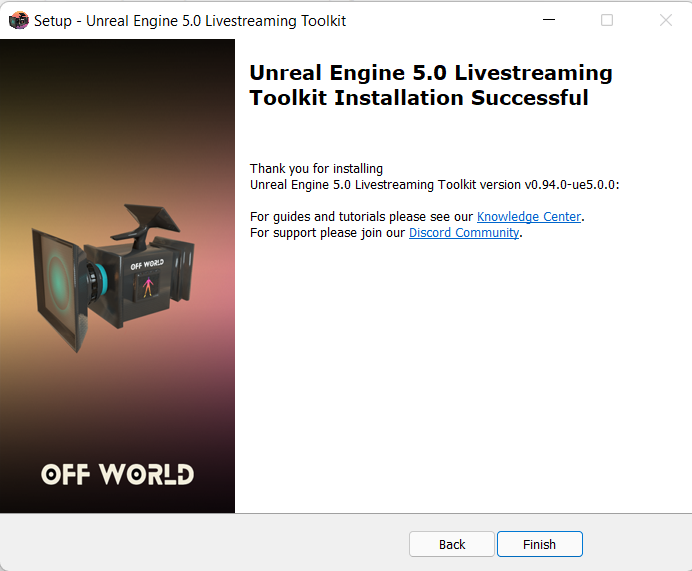
You can now open Unreal Engine and go to
Edit> Plugins> Media Productionand make sure that the Toolkit is Enabled. If it isn't you will be requested to restart.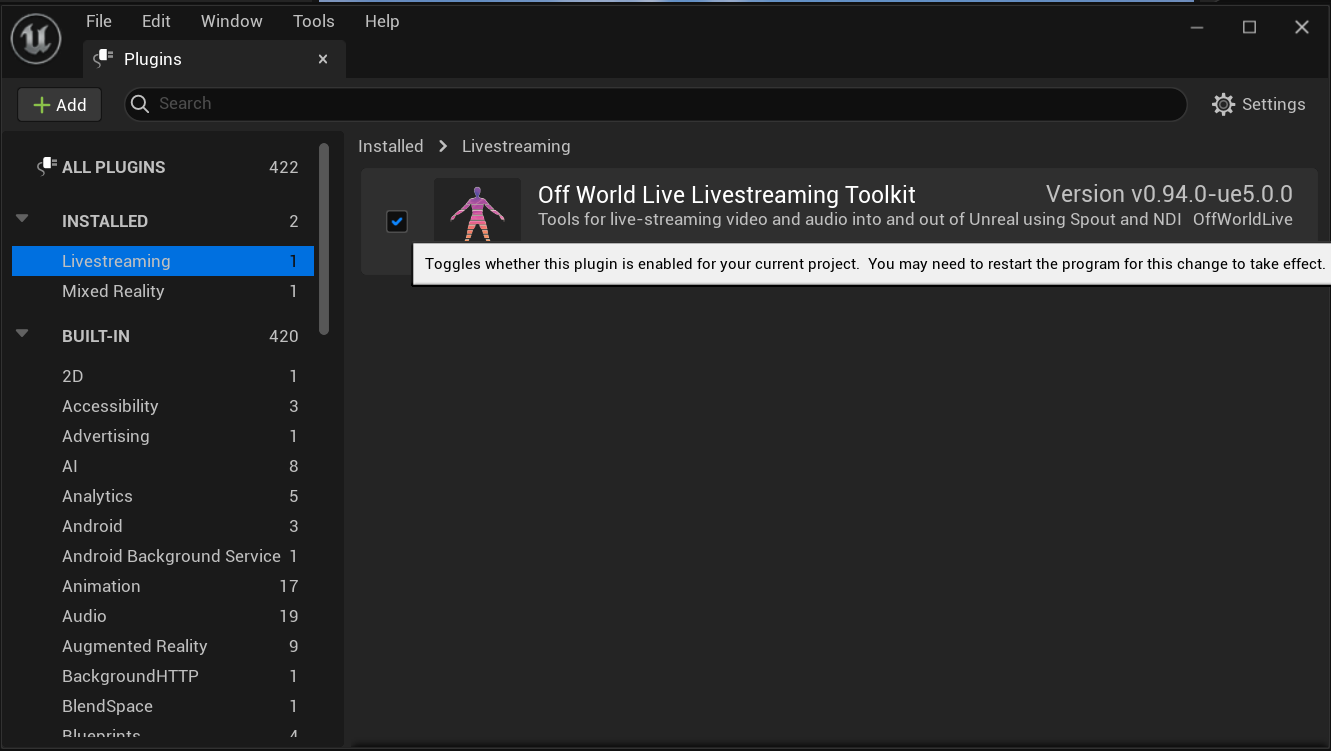
Now when you open your Project you will see the Off World logo in your
Editorand you are ready to go!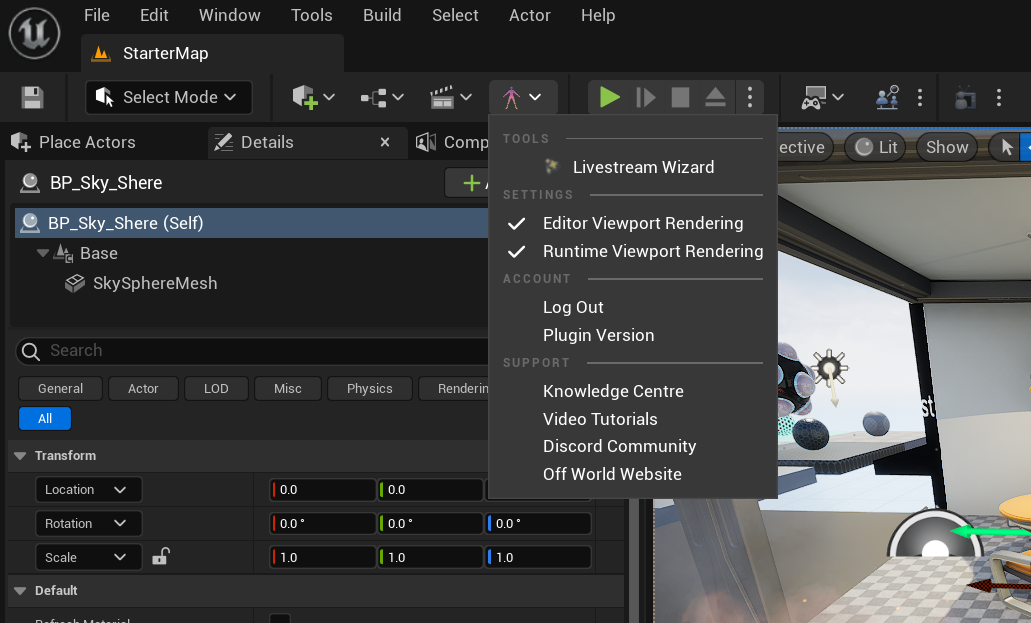
Installation using the Zip folder
Download the
zip fileof the Toolkit version you need from the Download Center: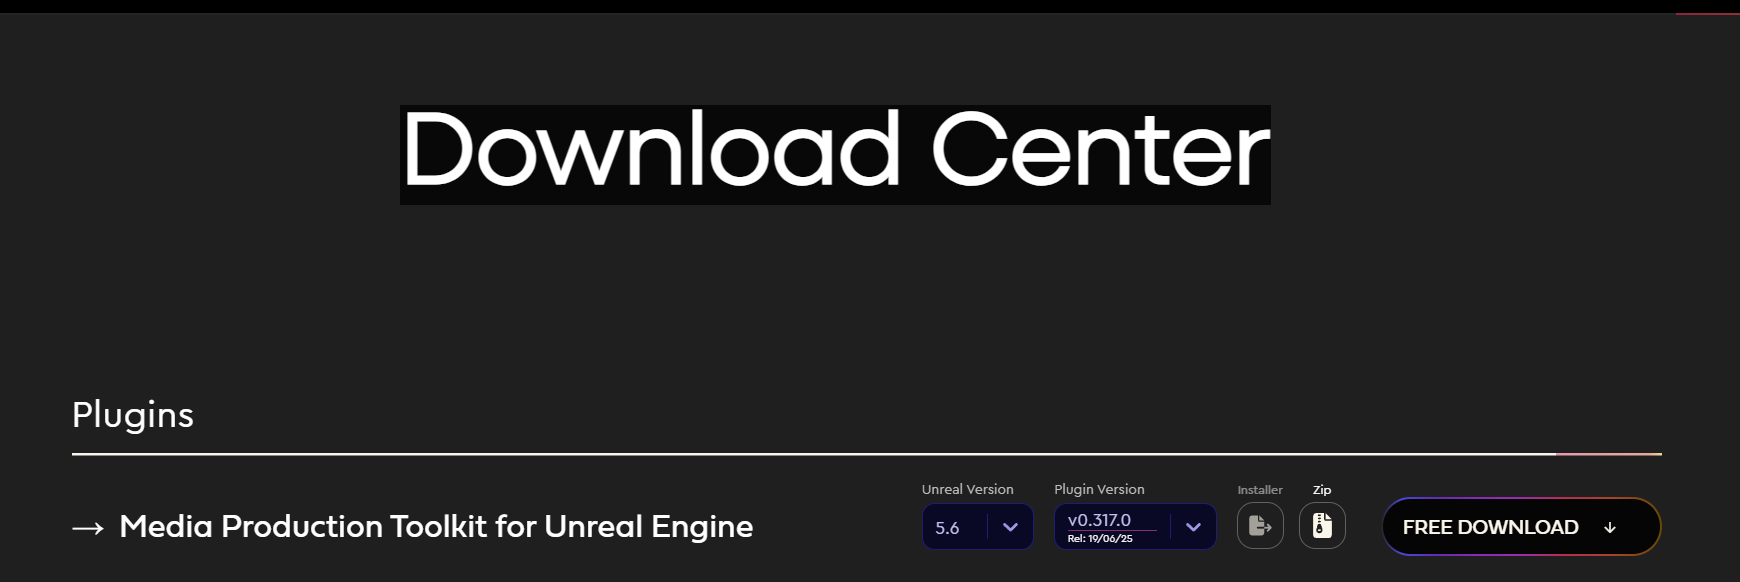
Extract the contents of the zip to either the
Pluginsfolder of your Unreal Engine Project or to this folder in your Unreal Engine:[YOURDRIVE]:\Program Files\Epic Games\UE_5.0\Engine\Plugins\Runtime\OWL: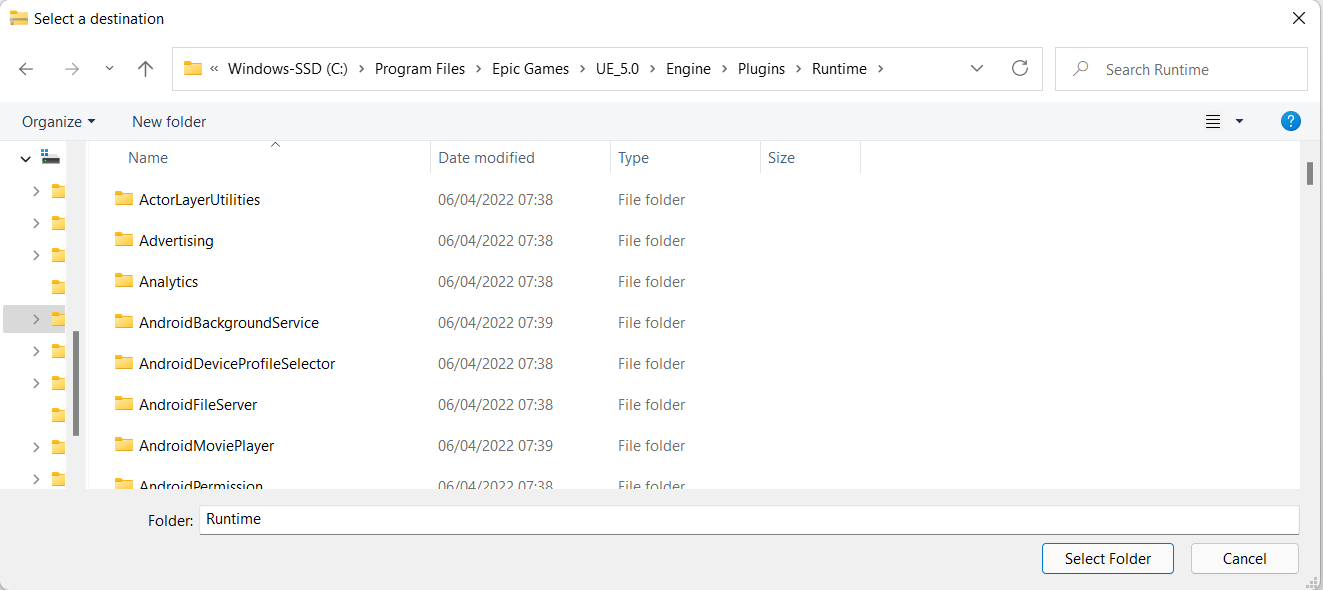
You can now open Unreal Engine and go to
Edit> Plugins> Media Productionand make sure that the Toolkit is Enabled. If it isn't you will be requested to restart.Now when you open your Project you will see the Off World logo in your Editor and you are ready to go!

Installing to a Custom Build of Unreal
Build your custom engine build.
Open any plugin directory inside
/Engine/Plugins- for example:Engine\Plugins\Runtime\ActorLayerUtilities.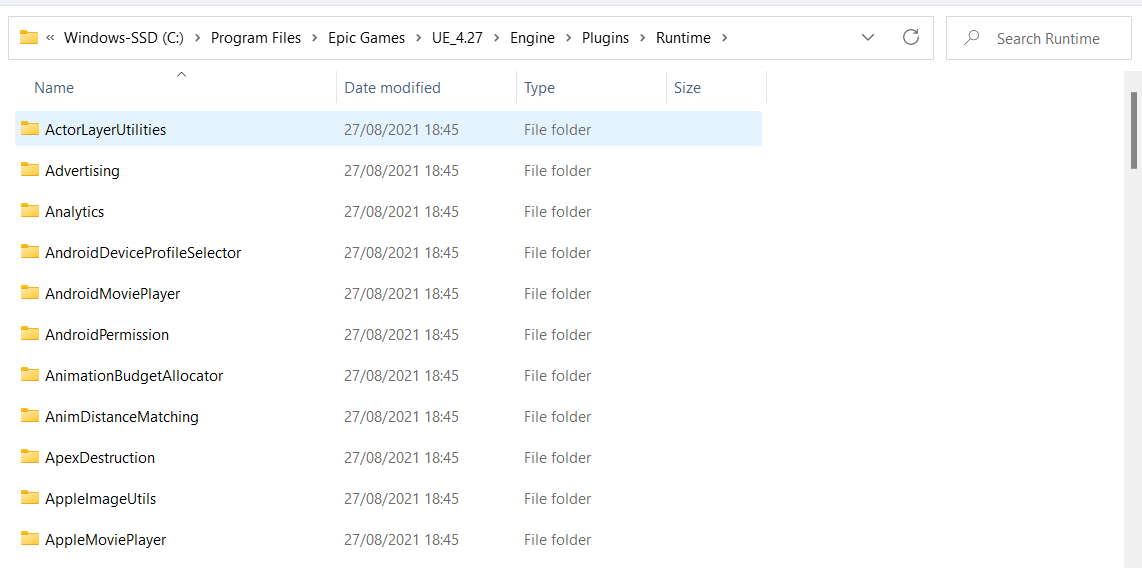
In that plugin directory, go to
Binaries/Win64/UE4Editor.modules: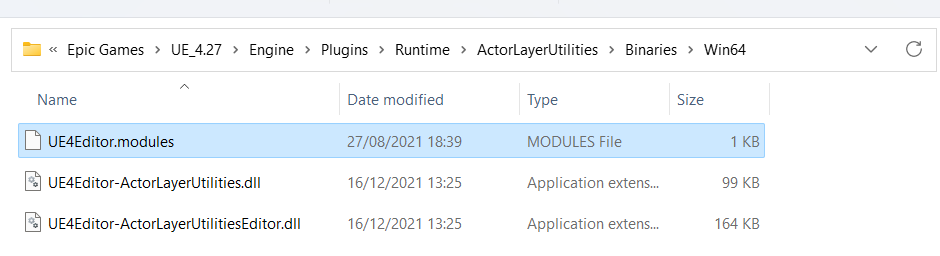
Open the file
UE5Editor.modulesin a text editor (i.e. Notepad):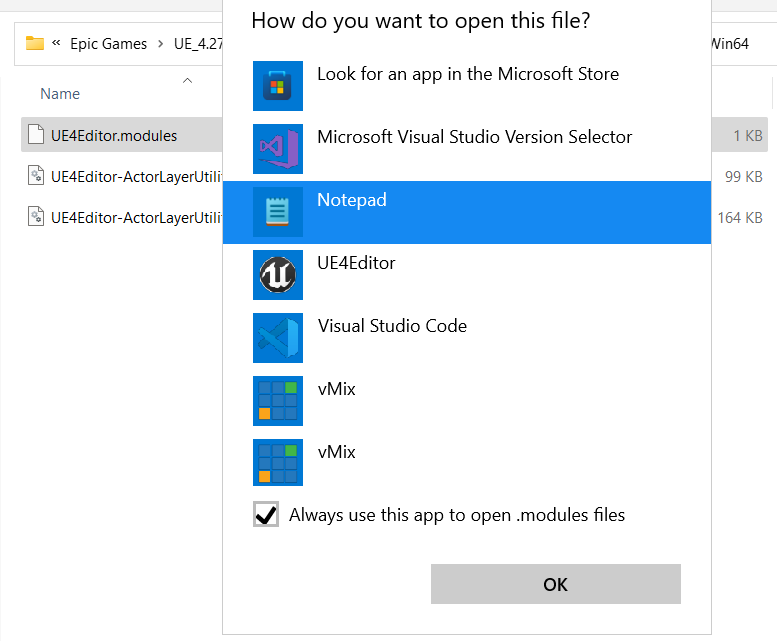
Copy the line that starts with
BuildIdeg"BuildId": "e3b09bf6-25f4-43d8-8fb2-dd2cde67fefe":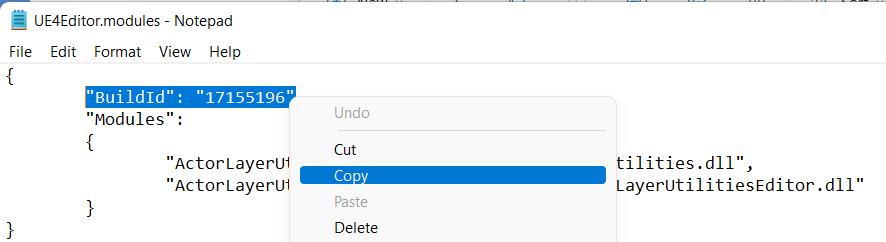
Open the Toolkit folder in your
Engineplugins directory and to goBinaries/Win64/UE5Editor.modules: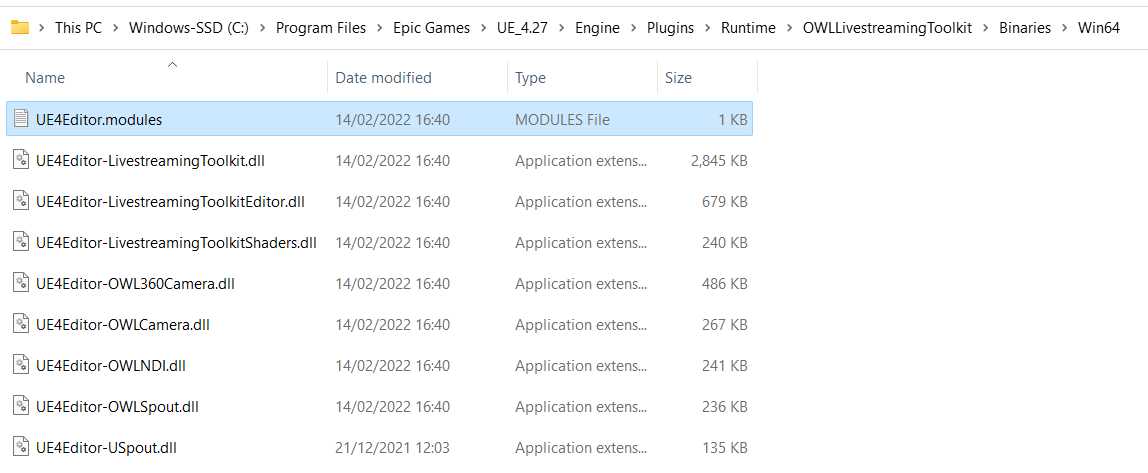
Open the
UE5Editor.modulesfile in a text editor (i.e. Notepad) and replace the line that starts withBuildIdwith the one copied in point 5 above.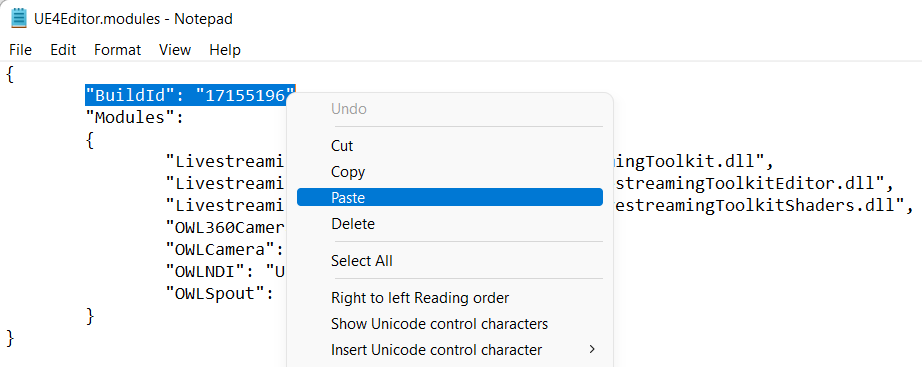
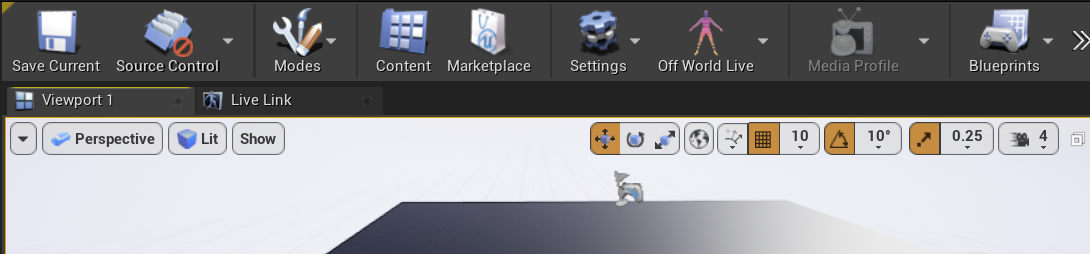
Open your custom engine build and you should see the Live-streaming Toolkit icon in your Editor as normal:
Problem: Modular Build Failure (DLL/Module Mismatch)
When attempting a modular build (where modules are compiled into separate DLLs), you may encounter errors stating that modules are missing or were built with a different engine version.
The Root Cause
Intermediate Incompatibility: Unreal intermediate files (.obj, .pch) are not compiler-agnostic. If intermediate files were generated with one version of the Visual Studio toolchain (e.g.,
14.38) and you attempt to link them using a different version (e.g.,14.44), the build will fail.Modular vs. Monolithic: While monolithic builds (common for final game shipping) package everything into a single executable, modular builds (common for Editor and development) rely on
UnrealEditor.modulesandUnrealGame.modulesto map descriptors to specific DLLs.Missing Binaries: If
UnrealGame.modulesexists but points to DLLs that don't exist in yourBinaries/Win64folder, the build system is likely trying to reference files that were never generated because the build process was interrupted or failed due to a toolchain mismatch.
Actionable Steps for Resolution
Verify Your MSVC Toolchain Version:
Ensure that your local machine and any build agents are using the exact same MSVC compiler version used to create the engine intermediates.
Role Required Version (Example): Compiler Toolchain: MSVC v143 - VS 2022 C++ (v14.38.33130), Windows SDK: Windows 10.0.22621.0
How to check your version: Open the
Developer Command Promptfor VS 2022 andrun:cl /version
Sync Toolchains via VS Installer:
If your versions do not match, do not simply update to the latest. You must install the specific version required:
Open Visual Studio Installer.
Select
Modifyon your VS 2022 installation.Go to the
Individual Componentstab.Search for the specific MSVC version (e.g., MSVC v143 - VS 2022 C++ x64/x86 build tools (
v14.38-17.8)).Install and ensure older/newer versions aren't overriding the path.
Clean and Regenerate Project Files:
Once the compilers are aligned, you must clear the "poisoned" intermediates:
Delete the following folders in your project
root:Binaries/Intermediate/DerivedDataCache/Right-click your
.uprojectfile and selectGenerate Visual Studio project files.
Force a Rebuild of the Game Target
Since
UnrealGame.modulesis often generated during the packaging process, you need to ensure the game target is explicitly built:Open your .sln in Visual Studio.
Set your configuration to
Development Game(orDevelopment Editorif testing in-engine).Right-click your project in the Solution Explorer and select
Rebuild.Verify that DLLs now appear in
Binaries/Win64and thatUnrealGame.modulescorrectly maps to them.
Summary Checklist
[ ] Compiler Match: Machine A and Build Agent B are using the same MSVC minor version.
[ ] Intermediate Purge: Intermediate/ and Binaries/ folders were deleted before the new build.
[ ] Modular Check: If building modularly, verify the .modules JSON file contains the correct DLL names found in the directory.
If you are working with a provided zip archive of an engine fork, verify if the provider intended for a Monolithic build. If they only provided intermediates for monolithic, you cannot build Modular without a full source recompile.
On reverting from Modular linkage to Monolithic linkage, you must add the following lines to your game's Target.cs file:bOverrideBuildEnvironment = true;BuildEnvironment = TargetBuildEnvironment.Shared;
Packaging or installing with Visual Studio
General Rules
Your project must be a
C++(not Blueprint) project in order to package successfully in UE5 onwards. Please see instructions below.Please ensure that the
Unreal Engine Media IO Frameworkplugin is active in your project. You can find this in the Unreal Engine plugins list.The Toolkit plugin must be in your
ProjectPluginsfolder, not theEngine> Plugins > Runtimefolder, which is where it is put when you use our Installer.Full Rebuildmust be unticked inProject Settings> Packaging.
Converting to a C++ Project
If your Project is a Blueprint Project (not C++) please convert to a C++ project using this guide before trying to package with the plugin.
Adding Plugin to your Project Folder
If your Project is already a C++ Project please ensure the plugin is in your Project folder and is removed from your Engine folder as follows:
If you have used the installer, the Toolkit will be in your
Engineplugins folder. This is normally in yourC Drivebut if you have Unreal installed somewhere else it will be there. The file path is:
Inside the Runtime folder you will find the Toolkit folder:
Cutthis from theRuntimefolder.
Open the Unreal
Projectfolder and check if there is already aPluginsfolder inside.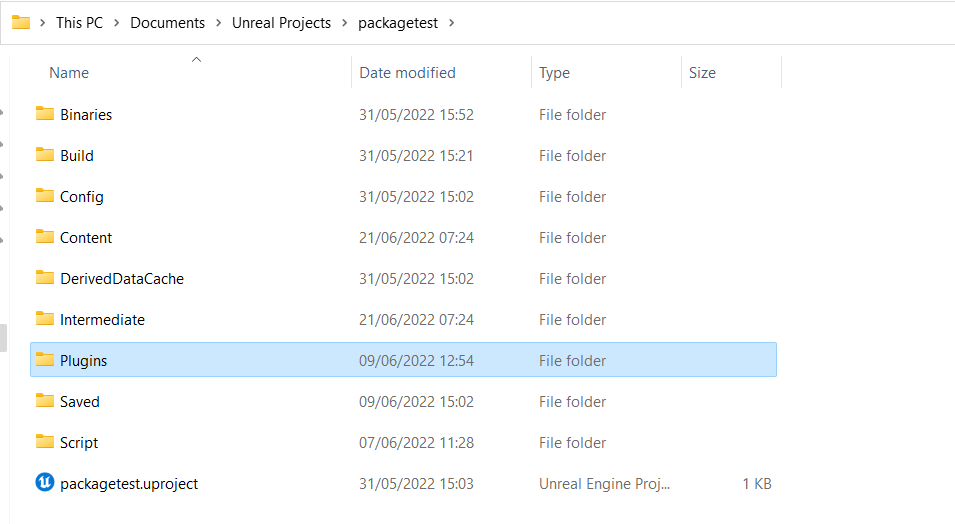
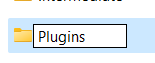
If there is no
Pluginsfolder in your Unreal Project folder then create a new one: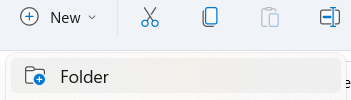
Go to the Downloads Center and download a fresh
zip fileof the Toolki and unzip it and place it in theProjectPlugins folder.In Unreal go to
Packagingin yourProject Settingsand ensure thatFull Rebuildis not ticked: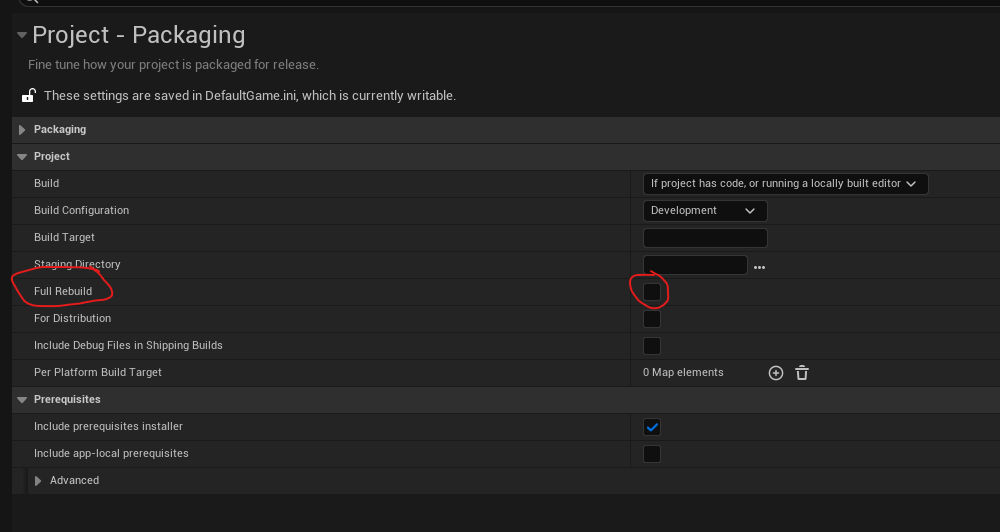
Now you should be ready for packaging!
Packaging with a Source Build of Unreal
If you are using a Source/ Custom build of Unreal (in addition to the points above):
In your project .target.cs file add the following line:
BuildEnvironment = TargetBuildEnvironment.Shared;You can also add "
bOverrideBuildEnvironment = true;" if your project complains aboutbUseLoggingInShippingbeing set
N.B: The Toolkit will not package successfully in the Test mode available with Source Builds.
Early Access Program
You can join our Early Access program to test out features before they are pushed to full release.
To do so, go to your account page and click to subscribe to
Early Access: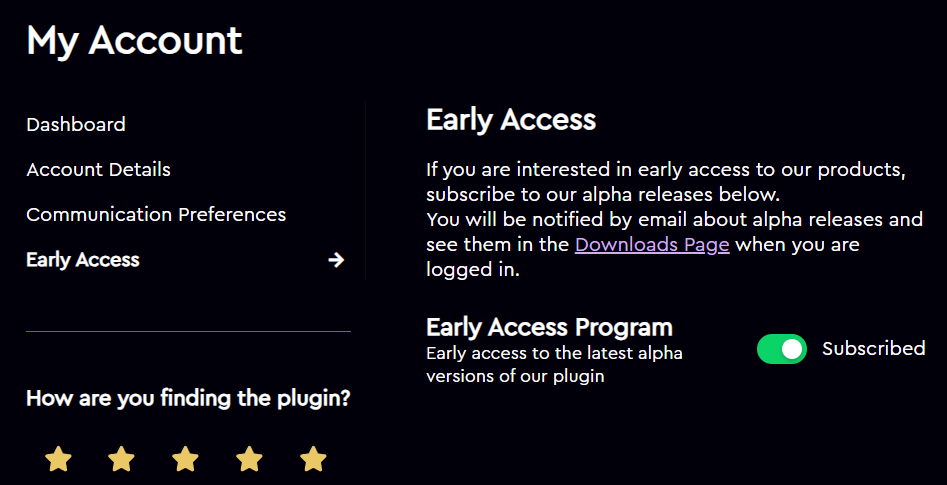
Then go to our Download Center and you will see the Alpha versions of the plugin.
If you don’t see the plugin, please make sure you are logged in and hard refresh.
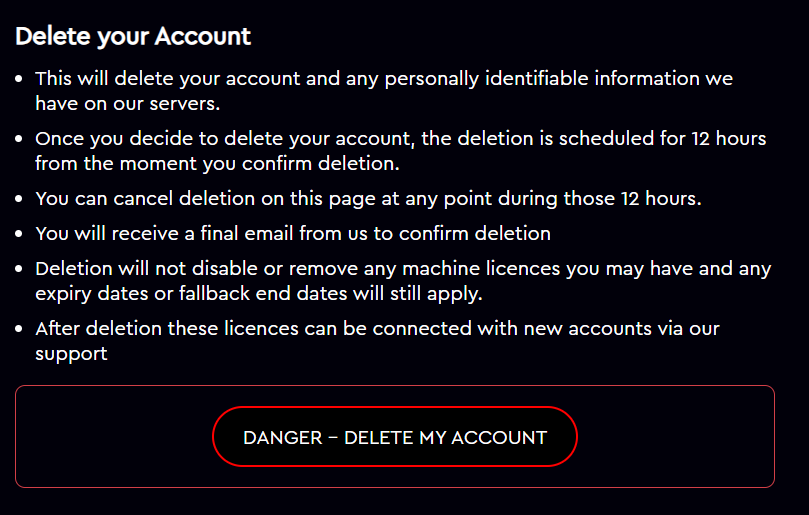
Deleting Account
You can delete your account on the account page> Account Details:

In the Delete your Account section, click the big red button: