Using OWL Viewport Capture, OWL Cinecam Capture, and OWL 360 Cam Capture, the drag-and-drop actor blueprint allows users to toggle three types of captures with a key press event
In order to create this toggle actor blueprint, you will need the following assets in your level.
1. OWL Viewport Capture
2. OWL CineCam Capture
3. OWL 360Cam Capture
4. Render Target for each capture
4. Create Material for each Render Target
Add these following assets in your project and level:
1. Import ToggleCameraBP.uasset into Content Browser
2. Add OWL Viewport Capture in your level
- In Texture Target, create a new Render Target from the dropdown menu.
- Selecting the icon below the dropdown to Browse to Render Target in Content Browser
- Right-click the asset, and Create Material from Render Target
3. Add OWL CineCam Capture in your level
- In Texture Target, create a new Render Target from the dropdown menu.
- Selecting the icon below the dropdown to Browse to Render Target in Content Browser
- Right-click the asset, and Create Material from Render Target
3. Add OWL CineCam Capture in your level
- In Texture Target, create a new Render Target from the dropdown menu.
- Selecting the icon below the dropdown to Browse to Render Target in Content Browser
- Right-click the asset, and Create Material from Render Target
4. Add a Static Mesh to your level
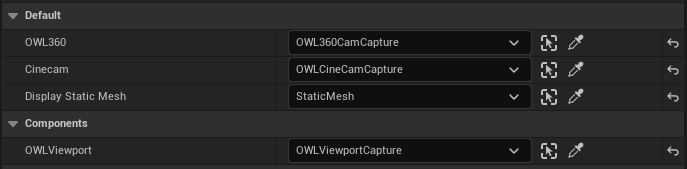
5. Drag and drop the ToggleCameraBP.uasset into your level
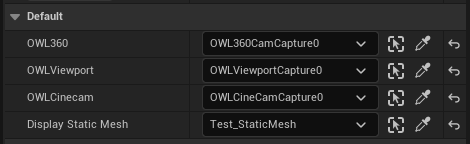
- In the Details panel, select the appropriate actor for each component from the dropdown menu
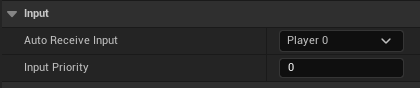
- In the Actor blueprint, under Input settings, turn on Auto Receive Input to receive input from 'Player 0'.
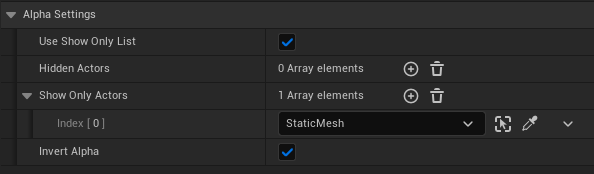
- In both CineCam and 360Cam settings, check Use Show Only List, and add desired actors to Show Only Actors, so that these actors will be be shown with an Alpha channel. You may add more than one actors.
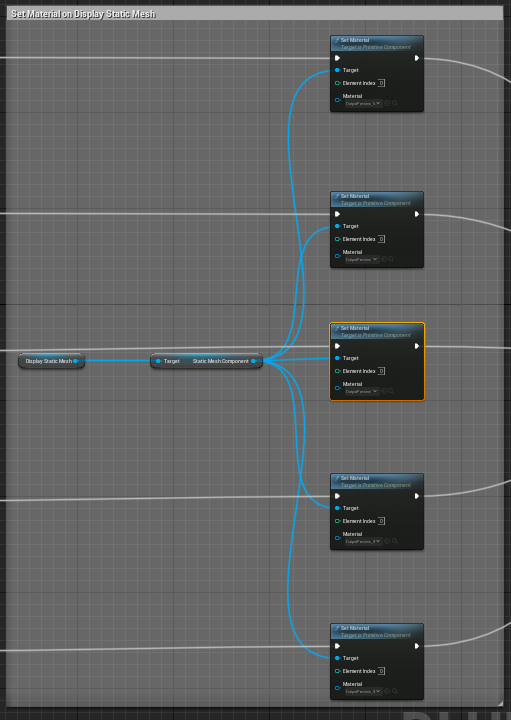
- Open ToggleCameraBP, in the event graph, look for the section Set Material on Display Static Mesh and select the respective materials for the different Multigate options.
6. Now, you may Play in editor, and press '1' on your keyboard to toggle through different captures.
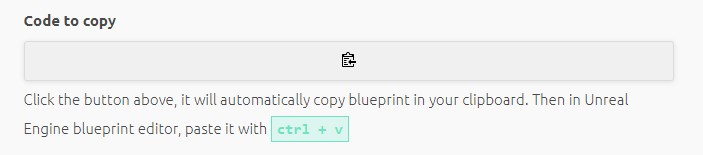
1. To copy this blueprint, click the copy button on the webpage here.
2. In your Content Browser, create a new Actor Blueprint Class and rename the blueprint as ToggleCameraBP.


3. In the Event Graph of the blueprint, you will need to create the following variables.
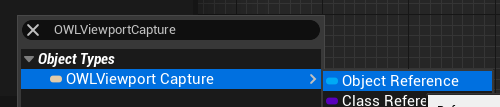
- Make sure the variables are named after each component correctly, selecting the corresponding Object Reference.
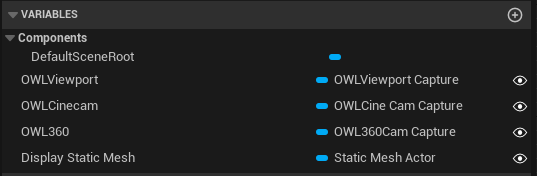
- You will also need to click on the 'eye' icon on the right to make these variables public and editable in the editor.

4. Now, press Ctrl+V to paste the blueprint from Pastebin.
5. Compile and Save your blueprint.
6. Add these following assets in your project and level:
- 1. Add OWL Viewport Capture in your level
- In Texture Target, create a new Render Target from the dropdown menu.
- Selecting the icon below the dropdown to Browse to Render Target in Content Browser
- Right-click the asset, and Create Material from Render Target
- 2. Add OWL CineCam Capture in your level
- In Texture Target, create a new Render Target from the dropdown menu.
- Selecting the icon below the dropdown to Browse to Render Target in Content Browser
- Right-click the asset, and Create Material from Render Target
- 3. Add OWL CineCam Capture in your level
- In Texture Target, create a new Render Target from the dropdown menu.
- Selecting the icon below the dropdown to Browse to Render Target in Content Browser
- Right-click the asset, and Create Material from Render Target
- 4. Add a Static Mesh to your level
7. Drag and drop the ToggleCameraBP.uasset into your level
- In the Details panel, select the appropriate actor for each component from the dropdown menu
- Open ToggleCameraBP blueprint editor, in the event graph, look for the section Set Material on Display Static Mesh and select the respective materials for the different Multigate options.
8. Now, you may Play in editor, and press '1' on your keyboard to toggle through different captures.