- Open Blender and delete the initial setup with A@Dusty Porter
- Shift+A and navigate to Mesh - Cube to create the first Cube.
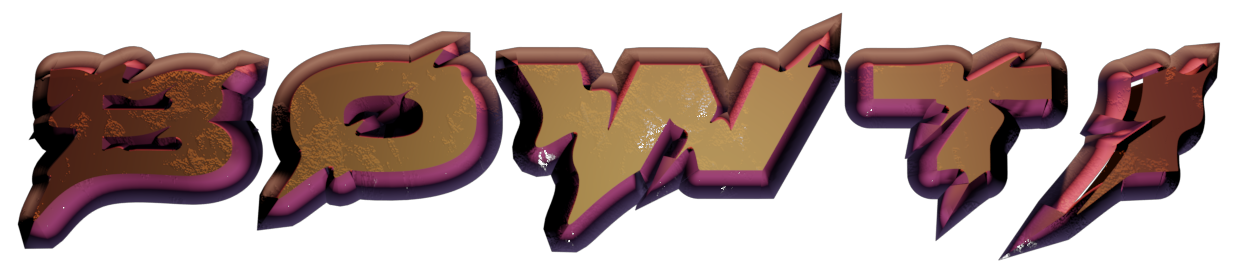
- Use some reference imagery and think about the main basic shape.
- Rename the Cube in the top right panel.
- Press Tab to change to Edit Mode.
- Press 2 or select the Edge Selection mode in the top right.
- Press A then Right Click - Subdivide to increase the Subdivisions of your object.
- Use Alt+Click to select a loop of edges.
- Use S to scale that selection and limit the Axis with X,Y or Z, then drag.
- Press 3 to change to Face Select.
- Use Shift+Select to select multiple Faces one by one.
- Shift+Select all of the top faces and press E to Extrude those faces upwards.
- Press S to Scale the Selection inwards.
- When in Edit Mode, press Ctrl+A to add another piece of geometry to the same object.
- Use Shift+Spacebar to Quickly access the left hand Toolbar.
- Use Ctrl+L to select linked geometry within one object.
- Use Ctrl+R to Loop or Ring Cut and use the scroll wheel to add subdivisions.
- Repeat all of these techniques in different ways to create your geometry.