OWL Media Input Wizard
You can instantly set up media inputs to Unreal Engine, with alpha channel support, no anti-aliasing or ghosting, audio support and both live-streaming and file playback options.
Last updated 3 months ago
Overview
The OWL
Media Input Wizardsignificantly simplifies the process of adding media to your Unreal scene.It’s integration with the
Unreal Media Plateensures color-correct, non-anti-aliased, non-blurred video playback (including withalpha channel).It will also automatically set up any audio inputs present in your media.
It’s easy to switch between different media inputs and you can even make playlists for switching or cuing.
Basic Set-Up
In Unreal Editor select the Off World Live drop down in the Editor UI and select
Media Input Wizard:
A pop-up will appear in which you can select the
Input Sourceyou want as well as theMedia Location(Media Plate,Plane,Material):
Select the options you need and click
Create. The relevant UnrealActorswill instantly generate in your Unreal scene and you will see your media playing:
Alpha Channel
Spout and NDI input options support
alpha channel:
If you select this option then you will normally be asked to restart your project to automatically change your
Project Settingsso that they supportalpha channel.
Audio Support
NDI and
Media Sourceinput options both support audio playback:
Depending on the
Media Locationoption you select, the audio will be added differently:If you select the
Unreal Media Plate, then the audio will be managed through that system in theMedia Plate Component:
If you select
MaterialorPlaneoptions then an UnrealSoundwavewill be created which will enable playback of the audio:
Performance
Frame Rate
Generally, you can add multiple media inputs without it having a noticeable effect on FPS.
However, if you add high FPS (
>60FPS), high resolution (>4K) inputs, eventually you will see your performance in Unreal suffer because it has to use resources to render/ playback content in your scene.The largest performance impact will come from NDI and
Media Sourcesas they have to be decoded, although both can use GPU decoding to manage this.
Visual Appearance
The
Unreal Media Plateoffers great visual quality and combined with the different inputs options will allow you to have high intensity detailed colors without any anti-aliasing or ghosting.The most effective use of this some kind of ‘screen’ where you can put a border around the edges of the
Media Platewhich otherwise will be jagged due to the lack of anti-aliasing:This will give you effective reflections and translucency.
Although you won’t have effective shadows, these aren’t very important in the case of a screen in your level or project.
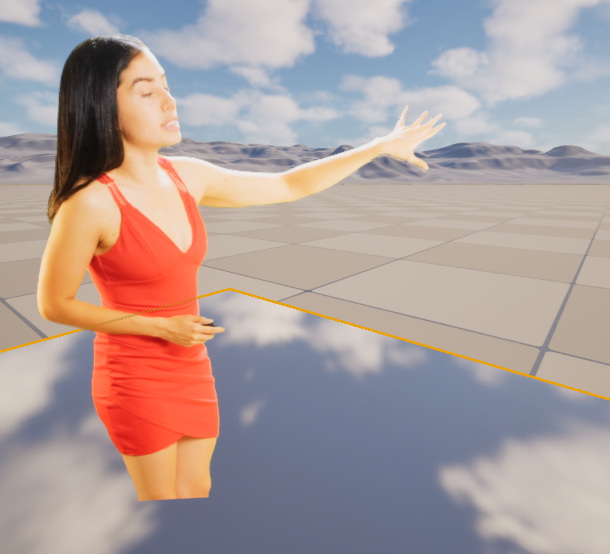
Alpha-channelinputs are a lot less effective for these reasons:Due to the lack of anti-aliasing, although the media will be clear, the edges of the talent will show jaggedness. This can be softened with blur but that will slightly shrink the talent.
Shadows, which are an essential part of integrating talent into a scene, don’t work at all.
If you are capturing these in your studio or you have them in a playback video, you can include these as a separate synchronised feed which will work.
Reflections and transparency have a large black border (due to the selection of a
MaskedorTranslucentmaterial).
If you want to do talent capture in Unreal you should use the new Unreal compositing tools (available from
5.7which are high performance and have a lot of great features).
Media Input Options
There are currently five input options:
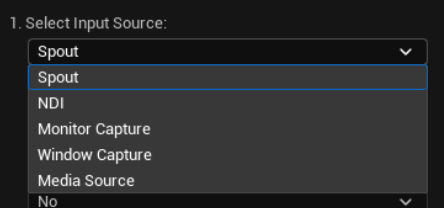
Spout
This is the best option if:
You want perfect color matching (and high color
bitrate).If you need video only (
alpha channelis supported).You are sharing media from the same machine.
Your sharing software has a
SpoutSender option.
That’s because Spout uses GPU Texture sharing and so has zero latency, compression, encoding or CPU overhead.
Spoutcan support up to32bitcolor, and will automatically match whatever is set in your sender.Spoutis supported in media software like OBS Studio, TouchDesigner, Resolume, MadMapper etc.
NDI
This is the best option if:
You are receiving media from across a network (normally a local network but it can also be over the internet using
NDI Bridge),You need audio as well as video (alpha channel is supported).
Your sharing software has an
NDI Senderoption (this is quite common) especially if it can sendNDI HX-3, which is10bitcolor with no visual compression artefacts.
However, NDI needs to encode the media to send over the network so:
There is a decoding cost in Unreal which slightly reduces FPS.
You may see small visual artefacts, especially if your
NDISender is usingSpeedHQcodec.You will need large available bandwidth to receive the video (Ethernet is recommended).
NDI can receive both
8bitand10bitvideo, and will automatically match whatever is set in your sender.
Window and Display Capture
This is the most convenient option for adding a screen share capability into Unreal.
It works via GPU Texture Sharing (like
Spout) and so has zero latency, compression, encoding or CPU overhead and has precise color matching to what is on your screen.You can select to capture either a whole
Displayor any individualWindowon your machine.Both include
cursorcapture.
Media Source
This is direct playback of a video file on your machine such as an MP4 (not all playback media types are supported).
It has support for video and audio but not
alpha channel.You can select any compatible file from your machine and it will automatically load into the
Media Plate.You may need to click the down arrow
Open the current mediaonce theMedia Platehas been added to your level to start the playback: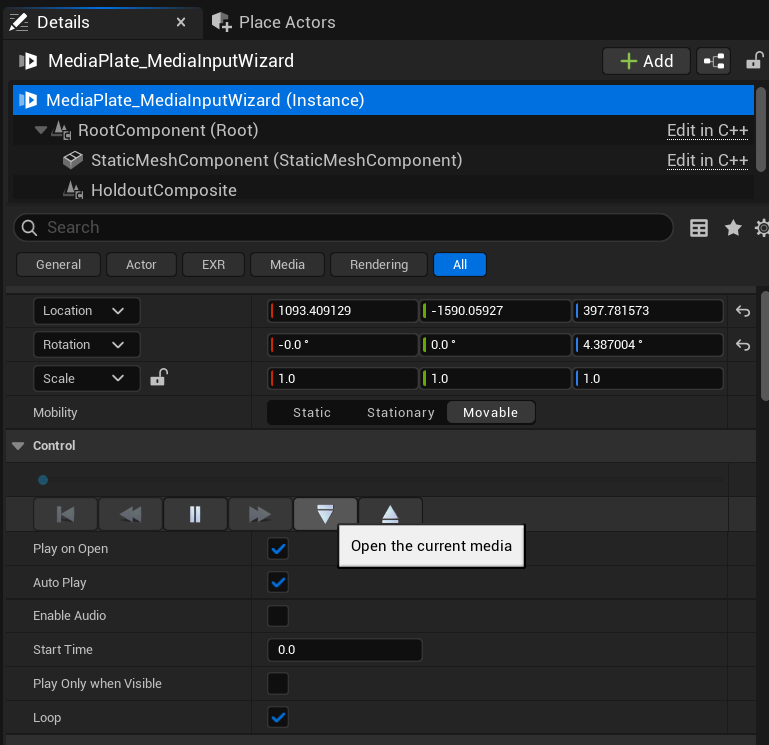
Media Location Options
Media Plate
Overview
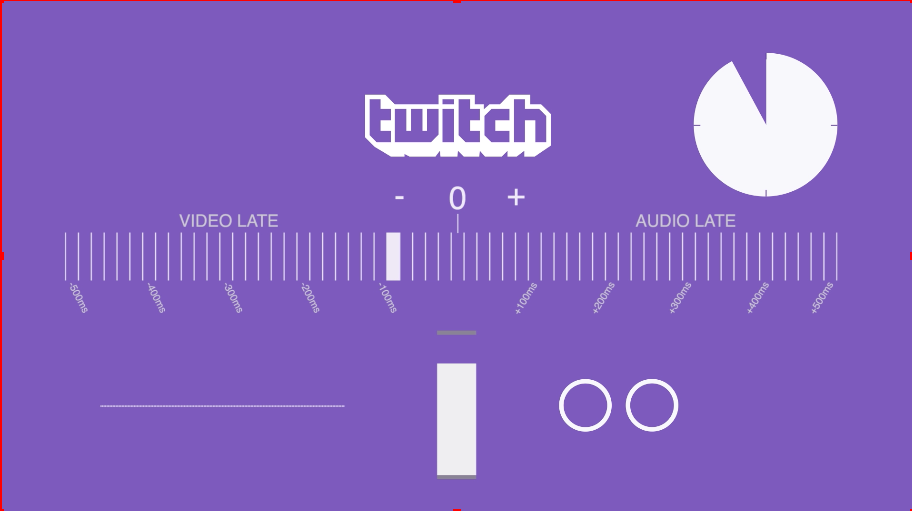
This is the recommended option because it avoids anti-aliasing, motion blur and depth-of-field artefacts which create a highly visible ‘ghosting’ effect when using a normal plane in Unreal.
Colors and image fidelity will be identical to your input source (see examples below).
There is no responsiveness to lighting or post-process effects (this can be a positive as it makes the media easy to see) and the edges of the image will have small anti-aliasing artefacts (you can cover this up by adding a virtual frame).
Reflections, transparency and shadows are not good enough for shooting talent in recorded contexts (use Unreal Compositing tools), but may be good enough for broadcasting.
Settings
By default it uses a
Planebut it can be used with any mesh (Sphere,Custom meshetc):
To switch between
opaqueandalpha channeloptions you need go to theMaterialssection in theMedia PlateDetailspanel and in theMaterialElementselect between the differentMedia Plateoptions: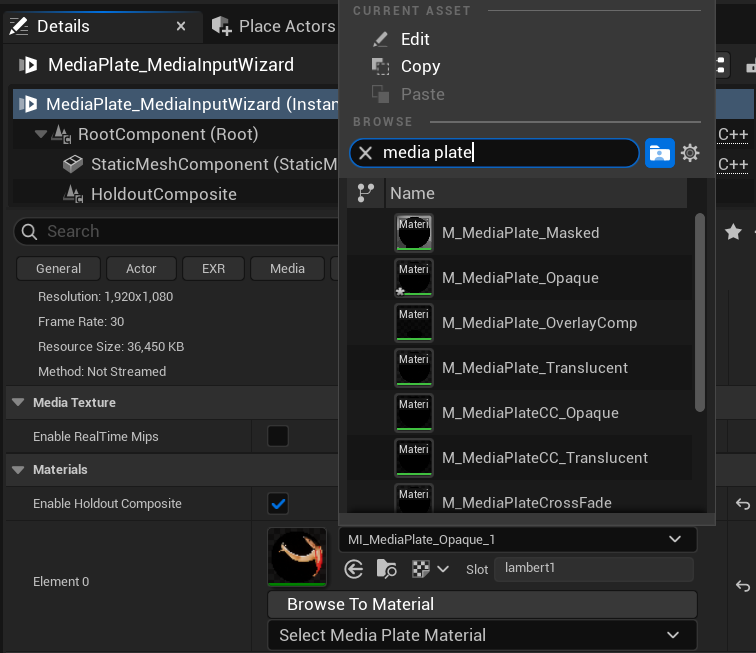
Original media source:

Opaque: TheMedia Platedoesn’t support alpha channel but has full reflections and translucency: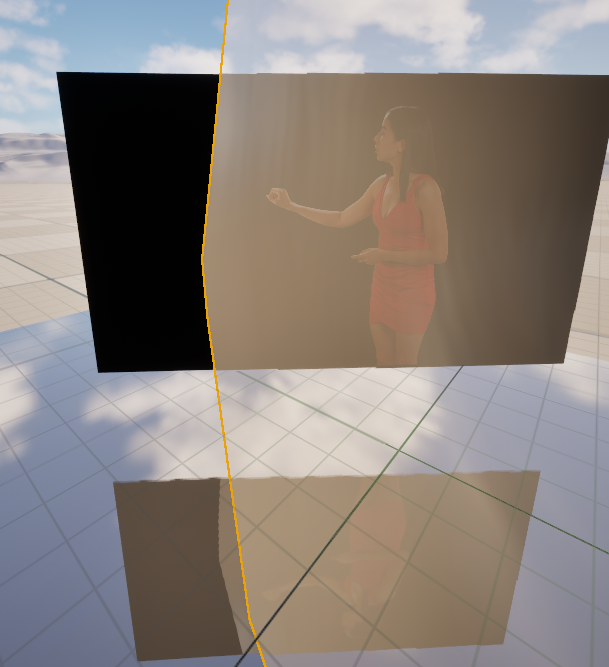
Masked:Alpha channelworks correctly. There are reflections and translucency but they have a black border (this is less visible in less reflective materials).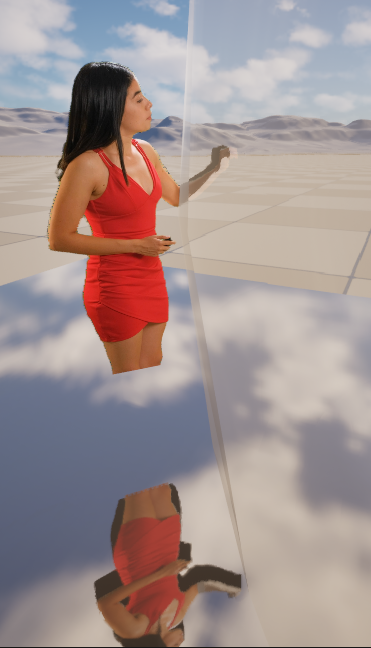
Translucent:Alpha channeland translucency works correctly. Reflections do not work.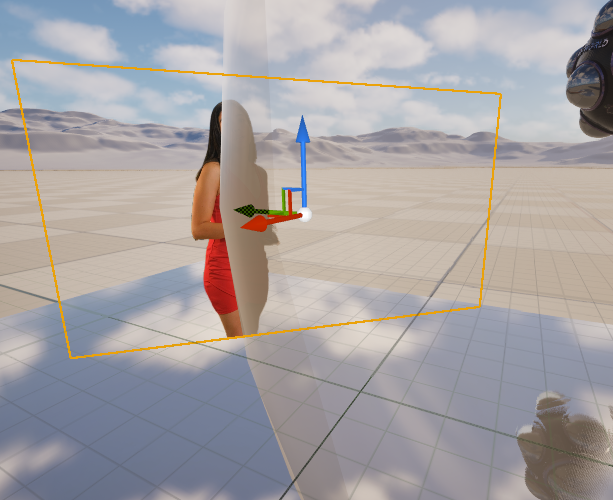
The
Media Plateavoids elements of the Unreal rendering pipeline like Anti-Aliasing, Motion Blur and Depth of Field using aComponentcalled theHoldout Composite,which will be enabled automatically, and can be found here (ensure it is ticked):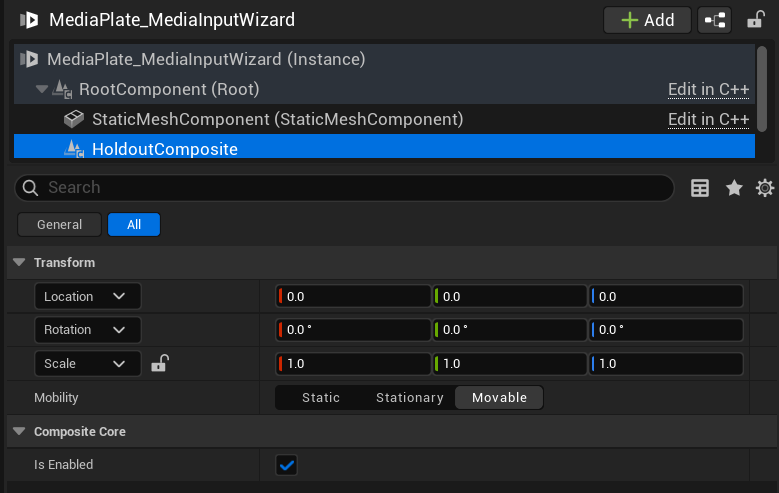
Unreal Plane
This is a standard
Planein Unreal. It will be affected by all anti-aliasing and post processing effects.It is not recommended to be used unless you have a specific purpose for it.
The image is blurred and the colors are washed out:
This is the same with non-alpha channel media (original source):
Unreal Media Plate: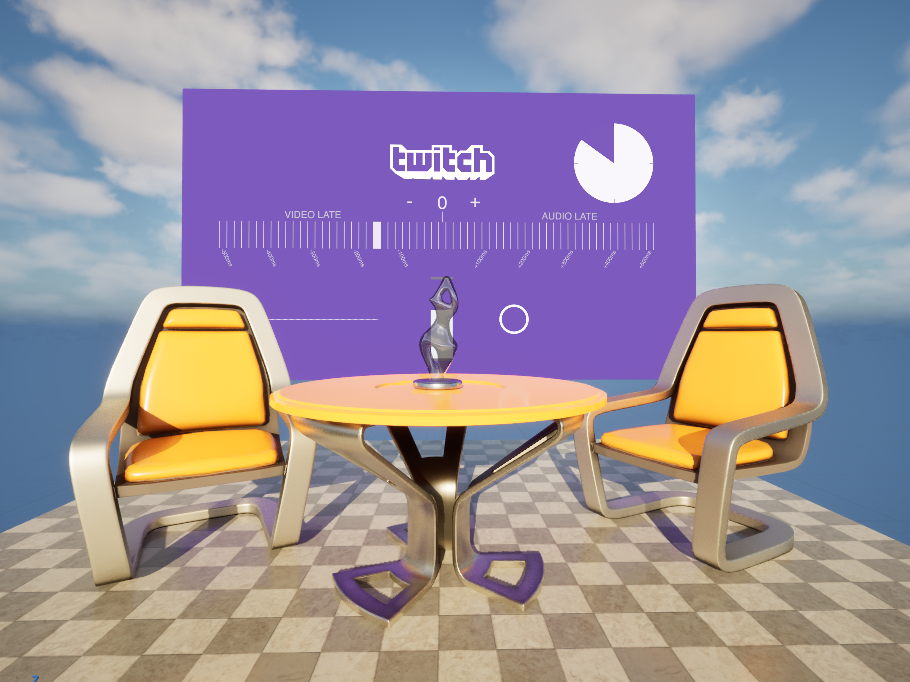
Unreal
Plane: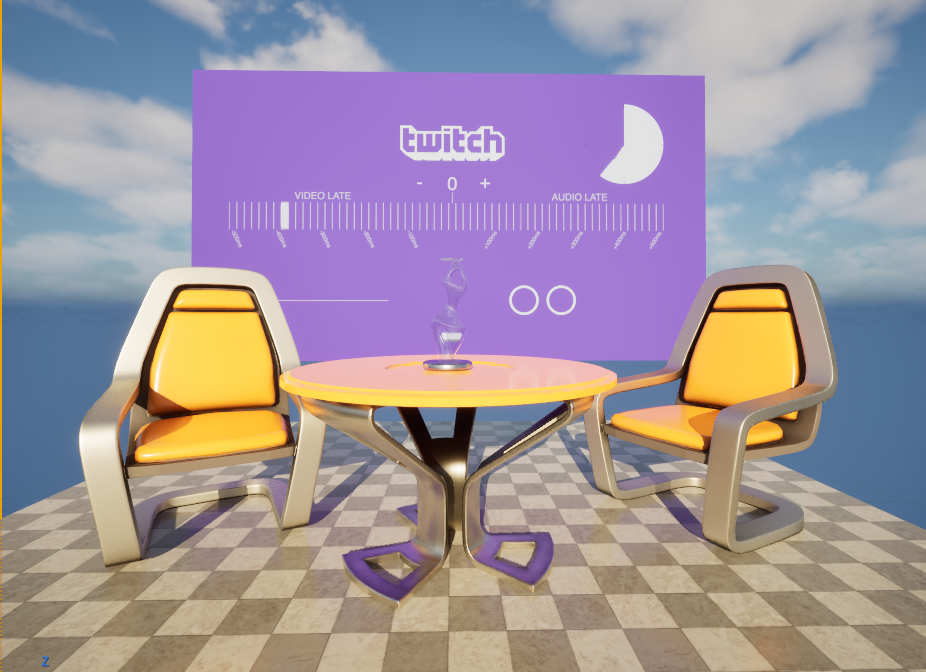
Material
This is an Unreal Material which you can add to different Static Meshes if you want to display your media on surfaces throughout your scene.
It will be affected by all anti-aliasing and post processing effects.
The image is blurred and the colors are washed out.
However, if you want to use your media on a HUD then it will bypass the anti-aliasing issues and look the same as the input image.
Media Switching/ Playlists
Media Plate
The
Media Platehas aPlaylistsection where you can switch between different media inputs.There are three media types:

File:This is a standard media file like anMP4, you select it from your local files using the…
Asset:This allows input from a wide range of different options in the UnrealMedia Framework(including the OWL Spout and N DI integrations):When you use the
Media Input Wizardand select Spout or NDI, it will automatically create aMedia Sourcewhich you can manage here: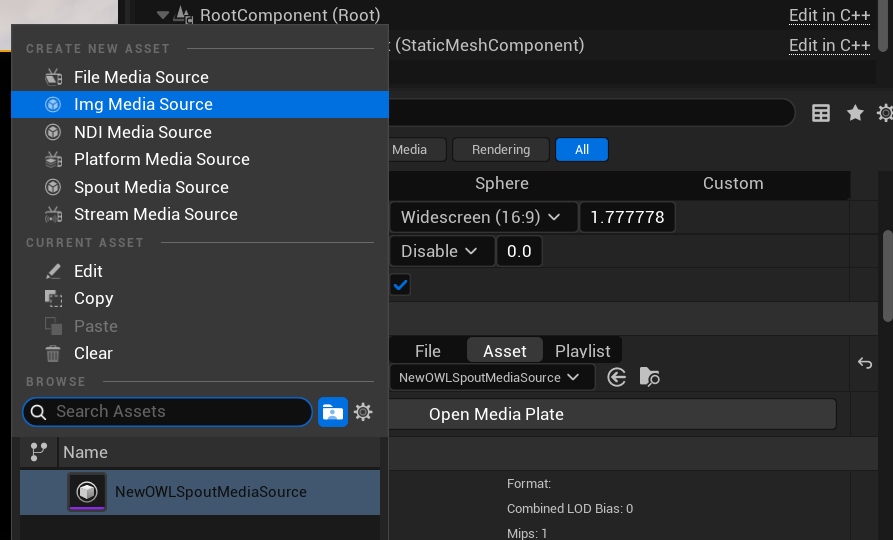
To change the settings of the
Spout/NDIMedia Source, find it in yourContent Browserand double click it to open the settings: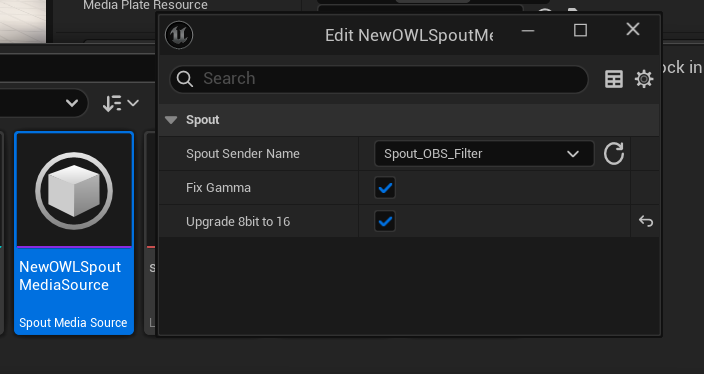
Playlist:This lets you cue up multiple media inputs into a playlist that you can then control or let run on theMedia Plate.
Unreal Plane or Material
If you select a
PlaneorMaterialthen the media will be input via theOWL Receivers/Actorsrather than theMedia Plate.You need to switch the input
Render Targetto theMaterialused in order to cue different media onto thePlane: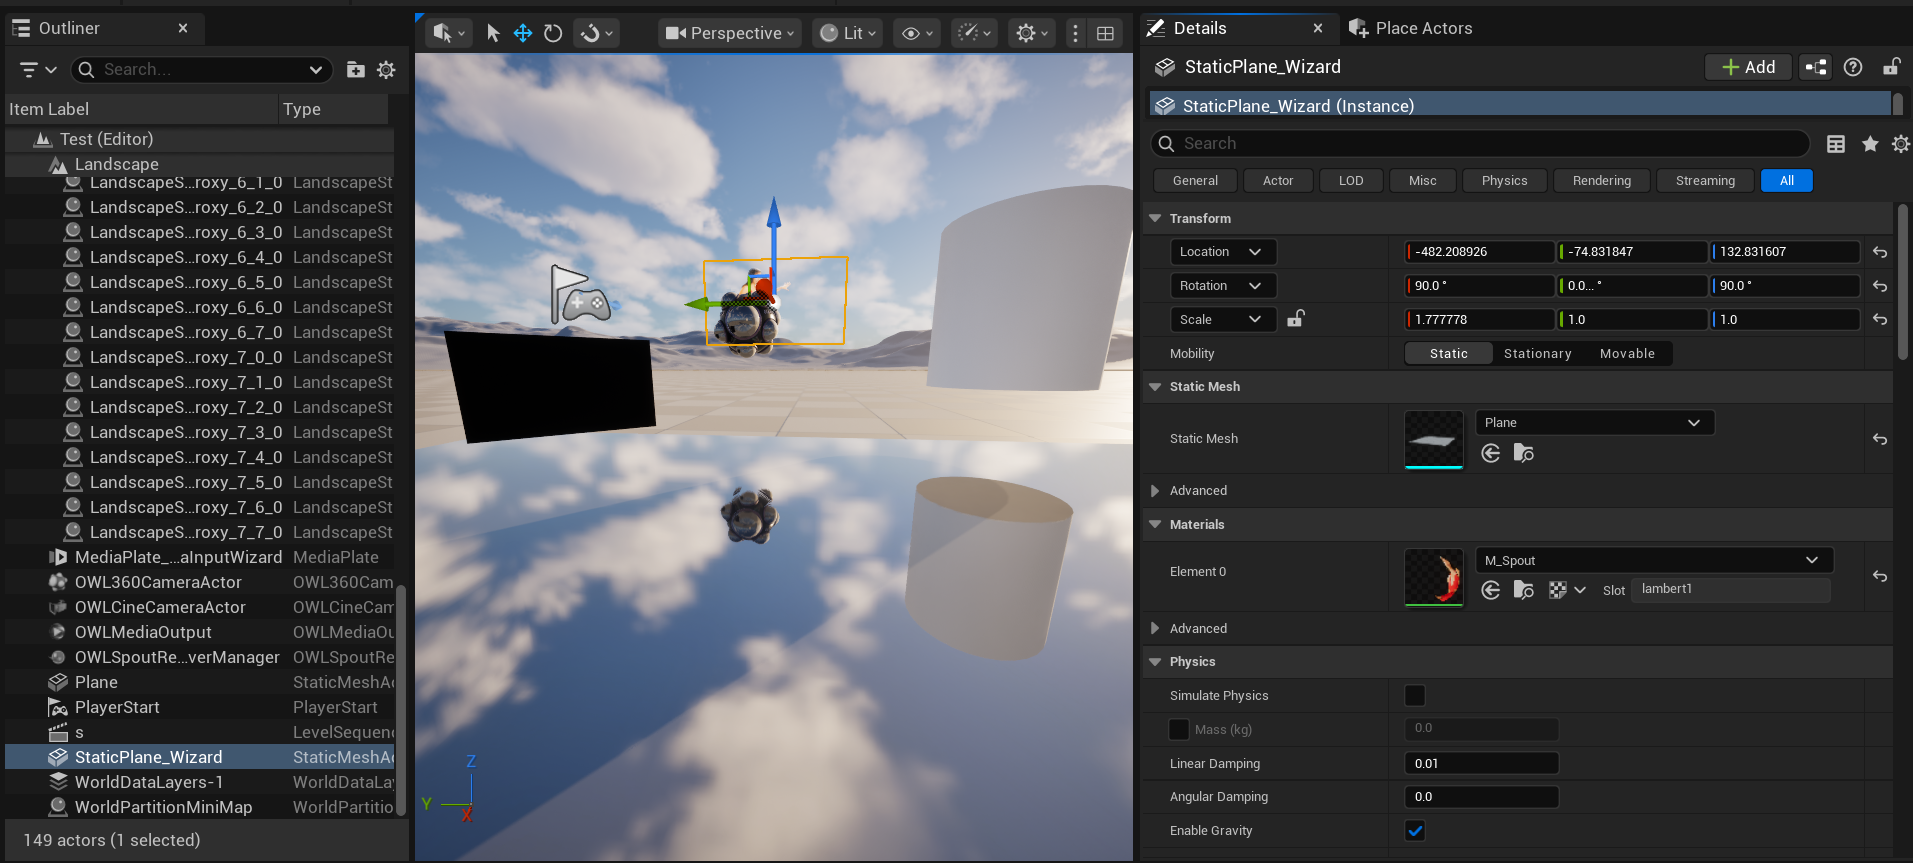
Trouble-Shooting
Please check the guides for the individual OWL Actors which all have extensive trouble-shooting recommendations.