How to Render a 180/ 360 Projection with a Custom Mask in Unreal Engine
How to render a 180/ 360 projection output from a custom mask in Unreal Engine, rendering the exact pixels you need for faster render times and smaller file sizes.
Last updated 22 days ago
Overview
The OWL 360 Camera/ Component lets you render to a custom mask so you can only output the pixels you need, significantly reducing render times and file sizes.
This is currently available for Equirectangular, 180 Equirectangular, VR 180 and VR 360 projection types.
You can use with feature with Movie Render Queue and when live-rendering from the 360 Camera via a Render Target.
Creating a PNG Mask
When working with unusual projection surfaces, most venues will have access to a UV unwrap image.
This can be used to create a black and white png image where black pixels are omitted and white pixels are rendered.
Creating your Own Mask
If starting from scratch, 3D editing software like Blender can be used to create a Digital Twin of your venue from which you can generate your own UV unwrap image as explained below using the example of a dome:
Create a
UV spherethat matches the measurements of the real world Dome.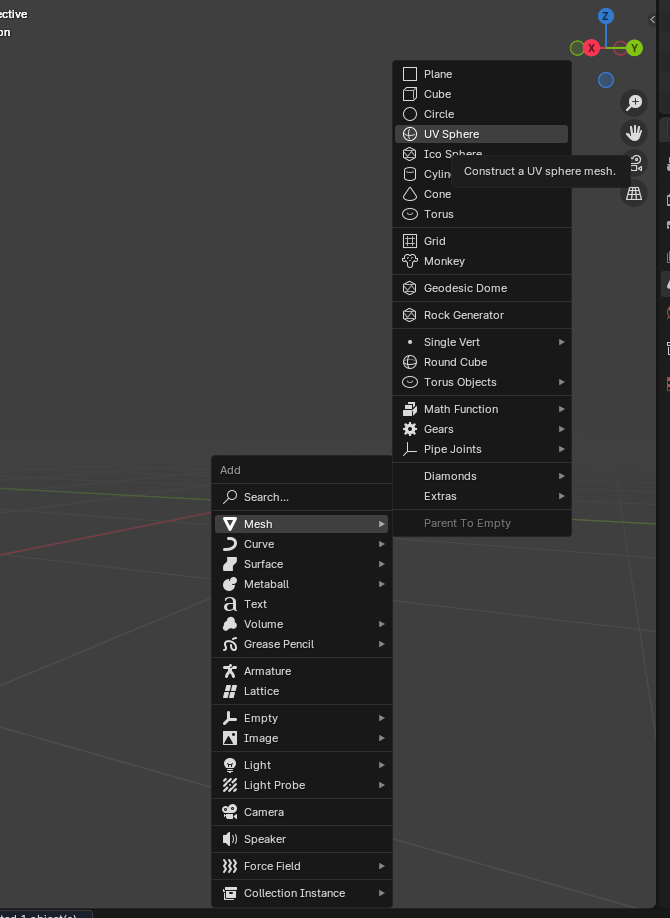
With the shape selected, press
Tabto go in toeditmode,1to view vertices, thenAlt+Zto use x-ray view followed byDelete > Vertices: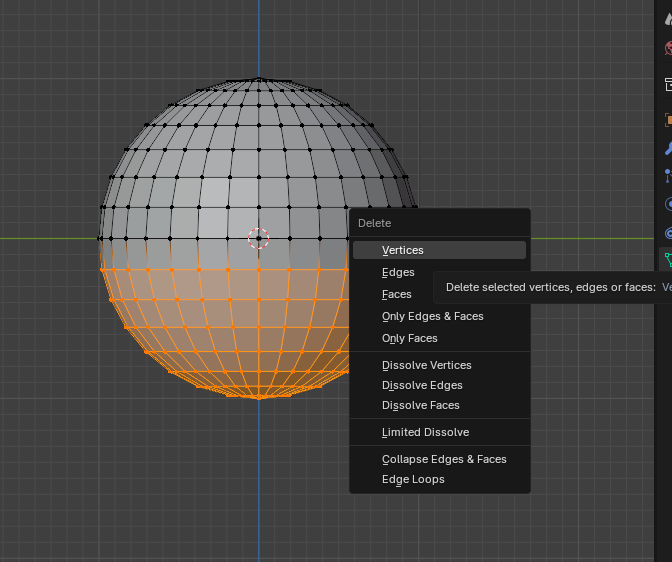
Use
Alt+Middle Mouse drag upto view the bottom of the sphere, thenAto select all, then pressU>Project from view (Bounds)to create a sphere that is perfectly mapped to the resolution of a texture: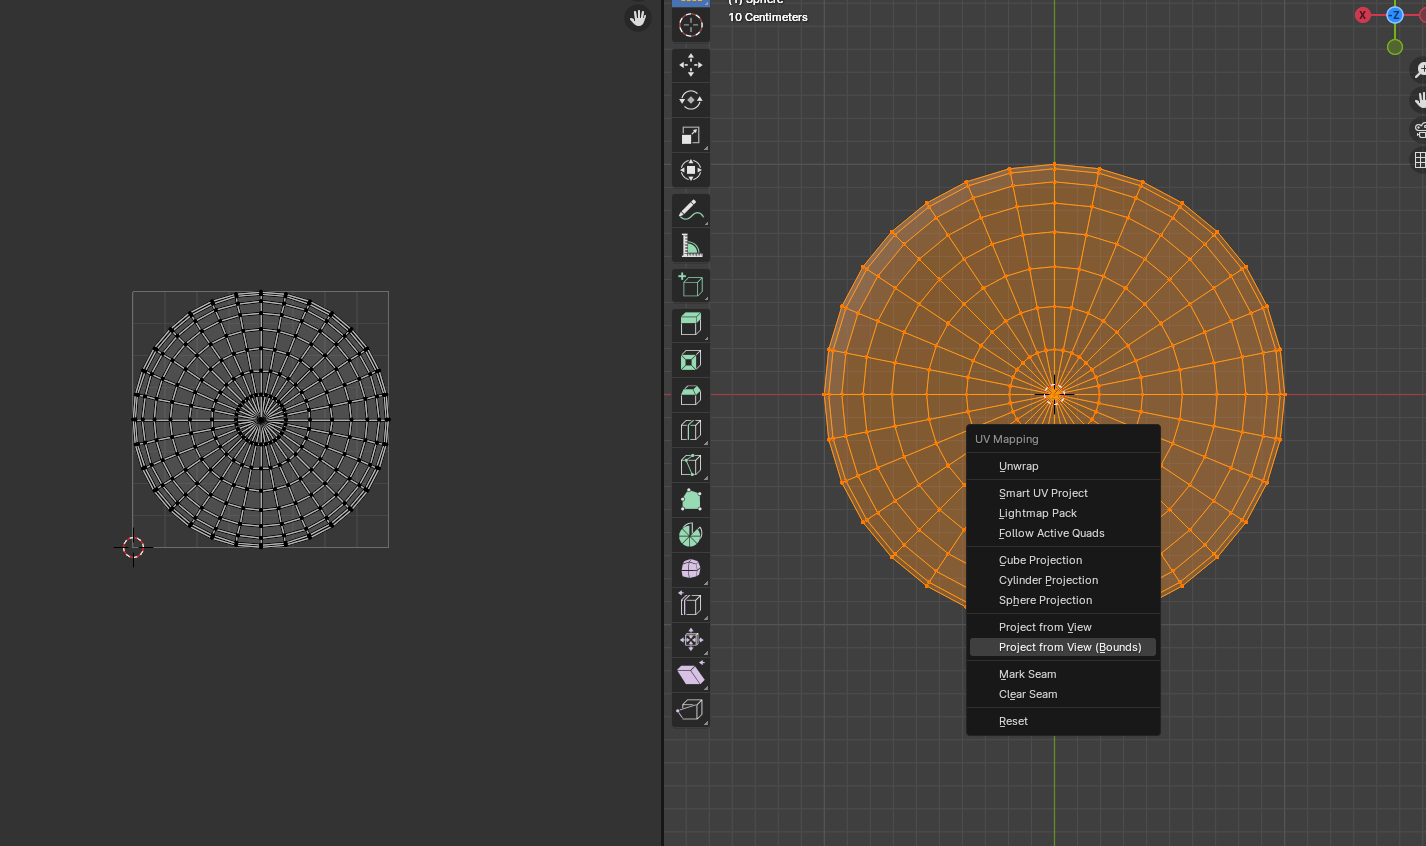
Use
Export UV layoutto create aPNGimage.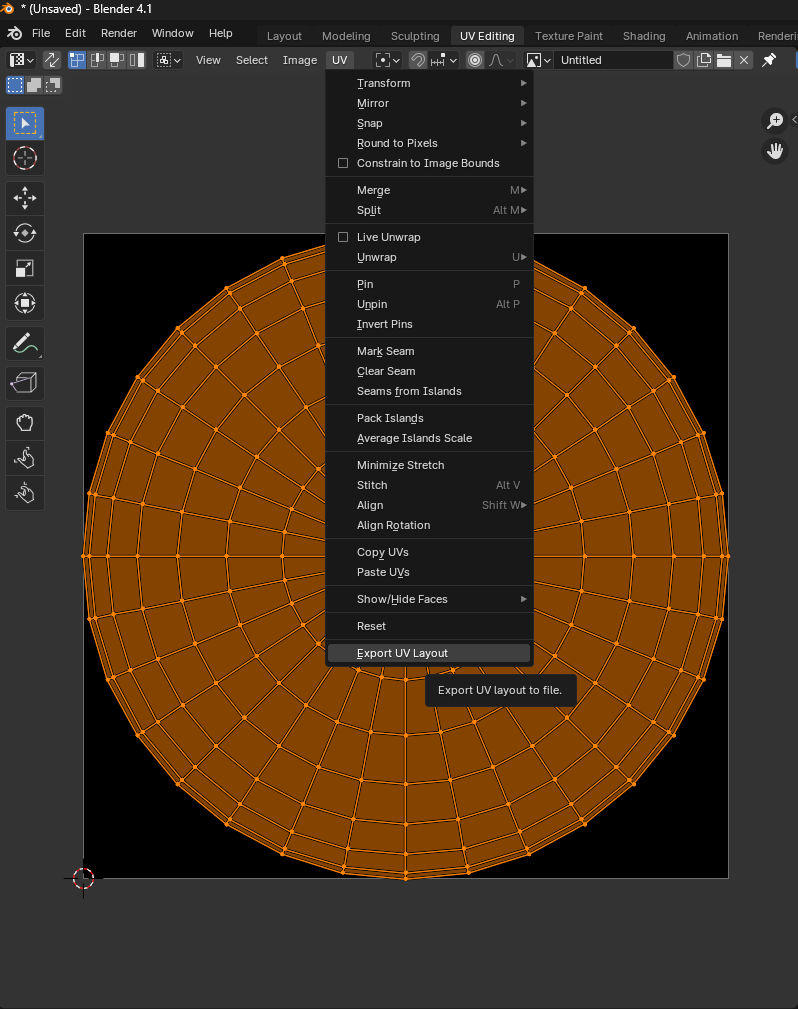
Set the
Fill Opacityto1, and ensure the export size matches the final output resolution for accuracy.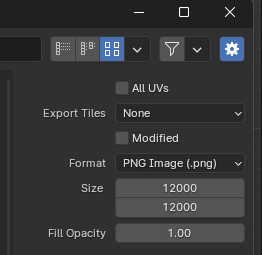
Import the
PNGin to an image editing software: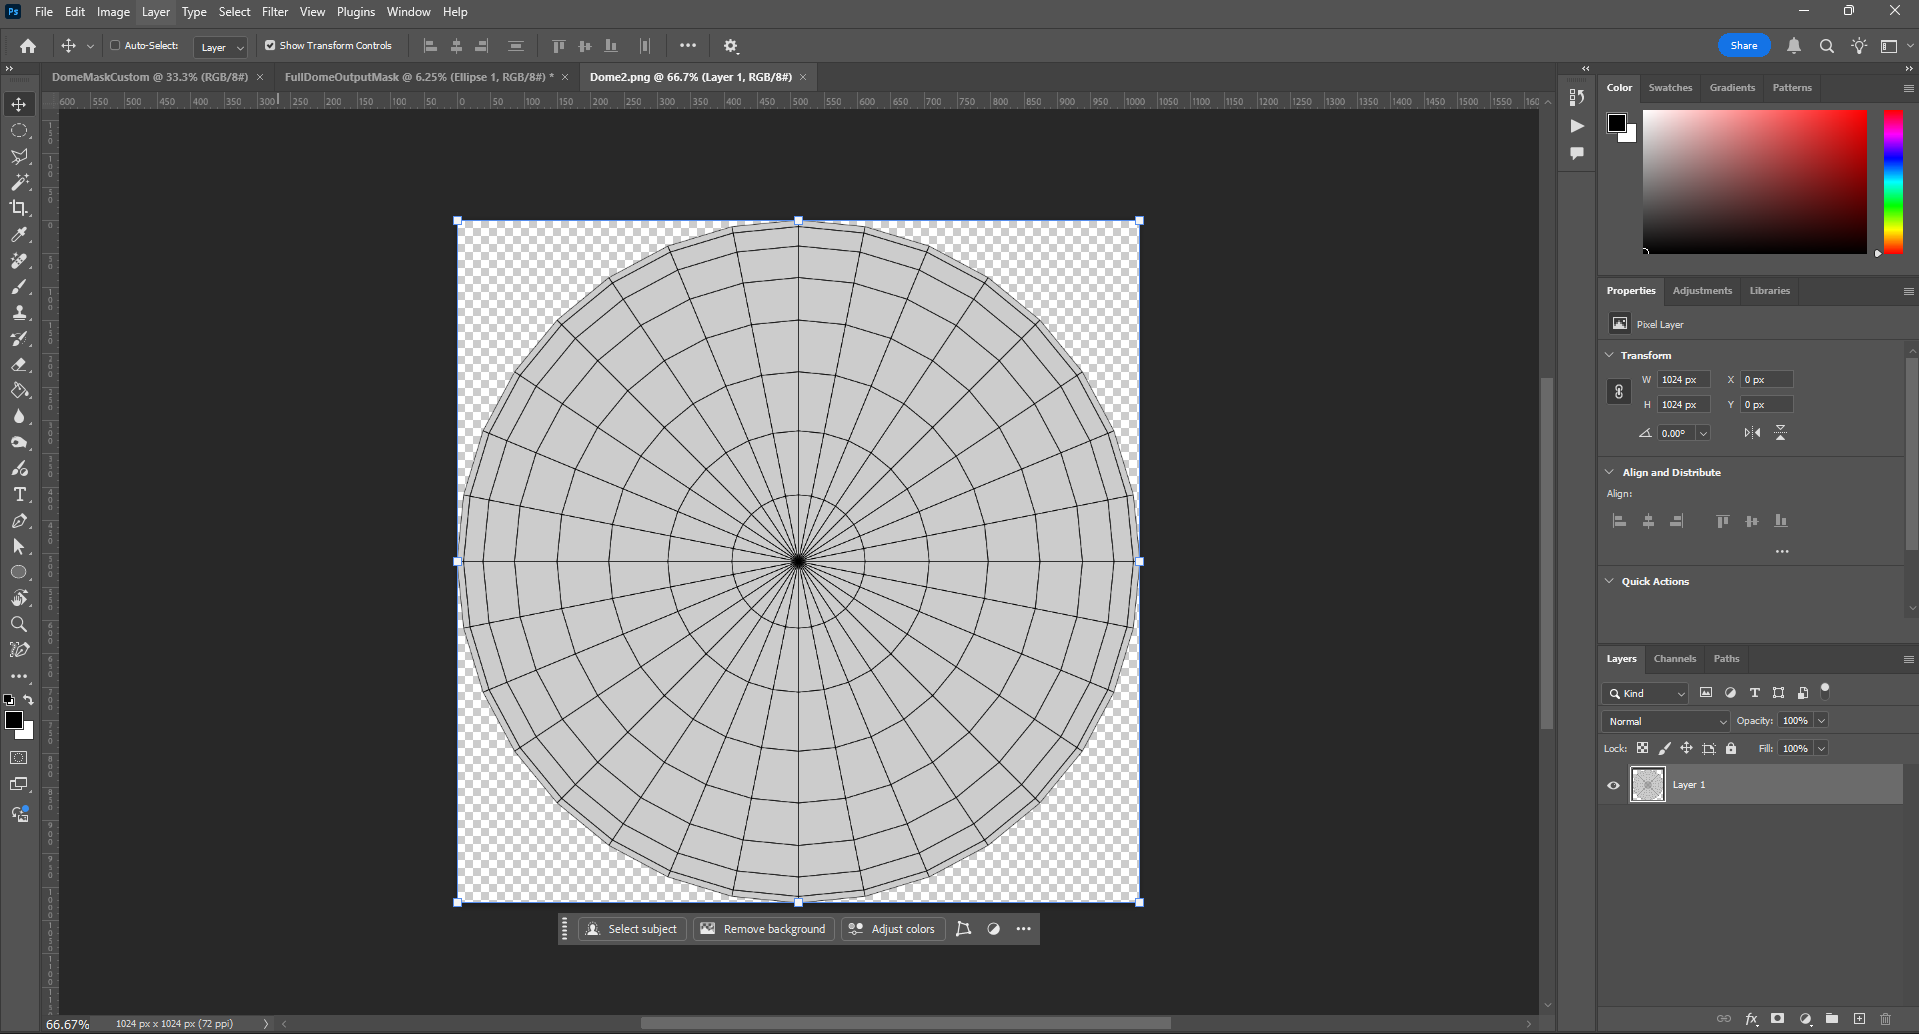
Double click the image and set the
Color Overlaytowhite: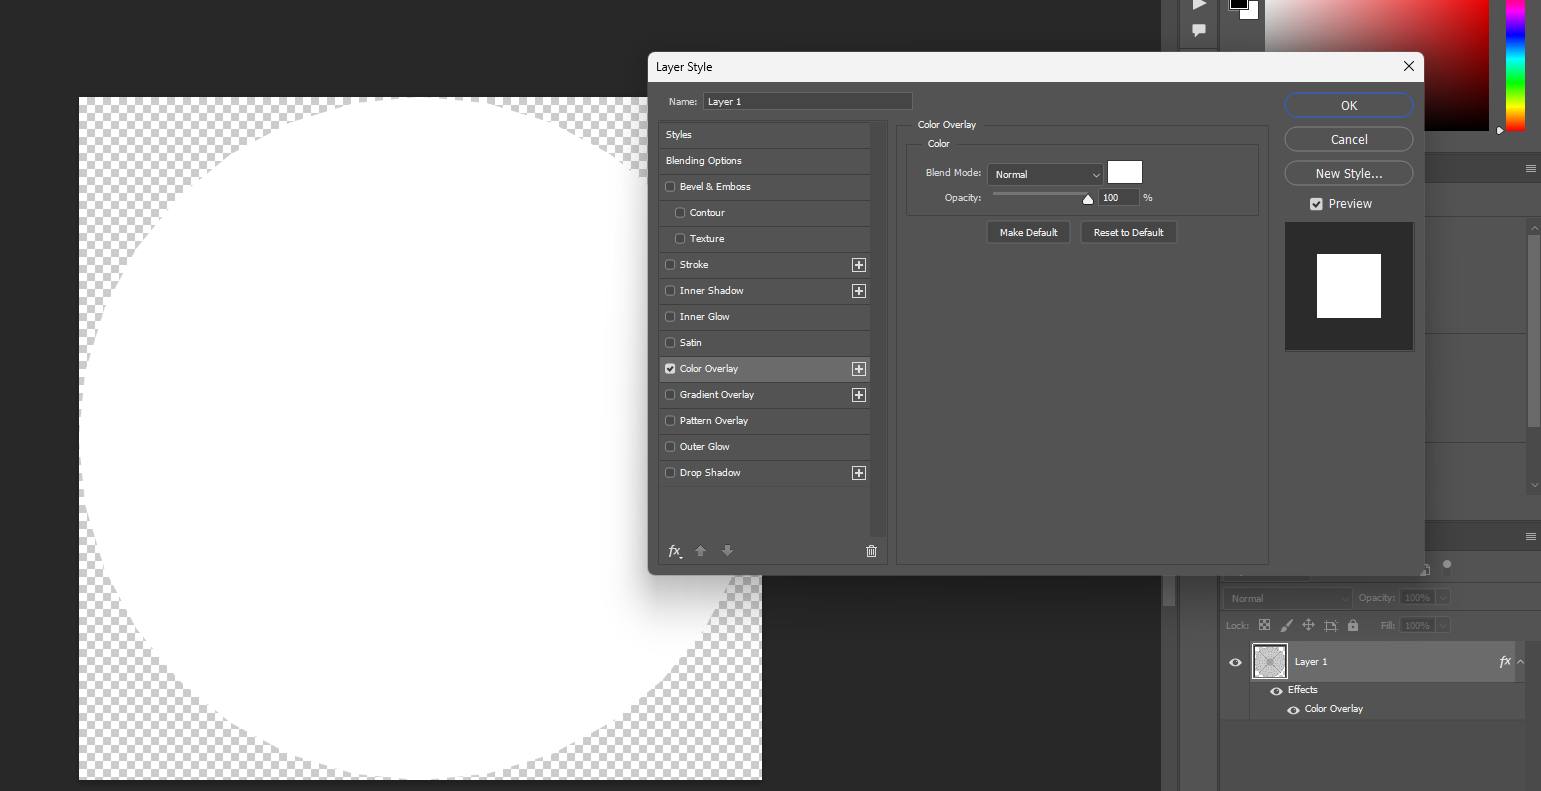
Add a
background layerand set this toblack: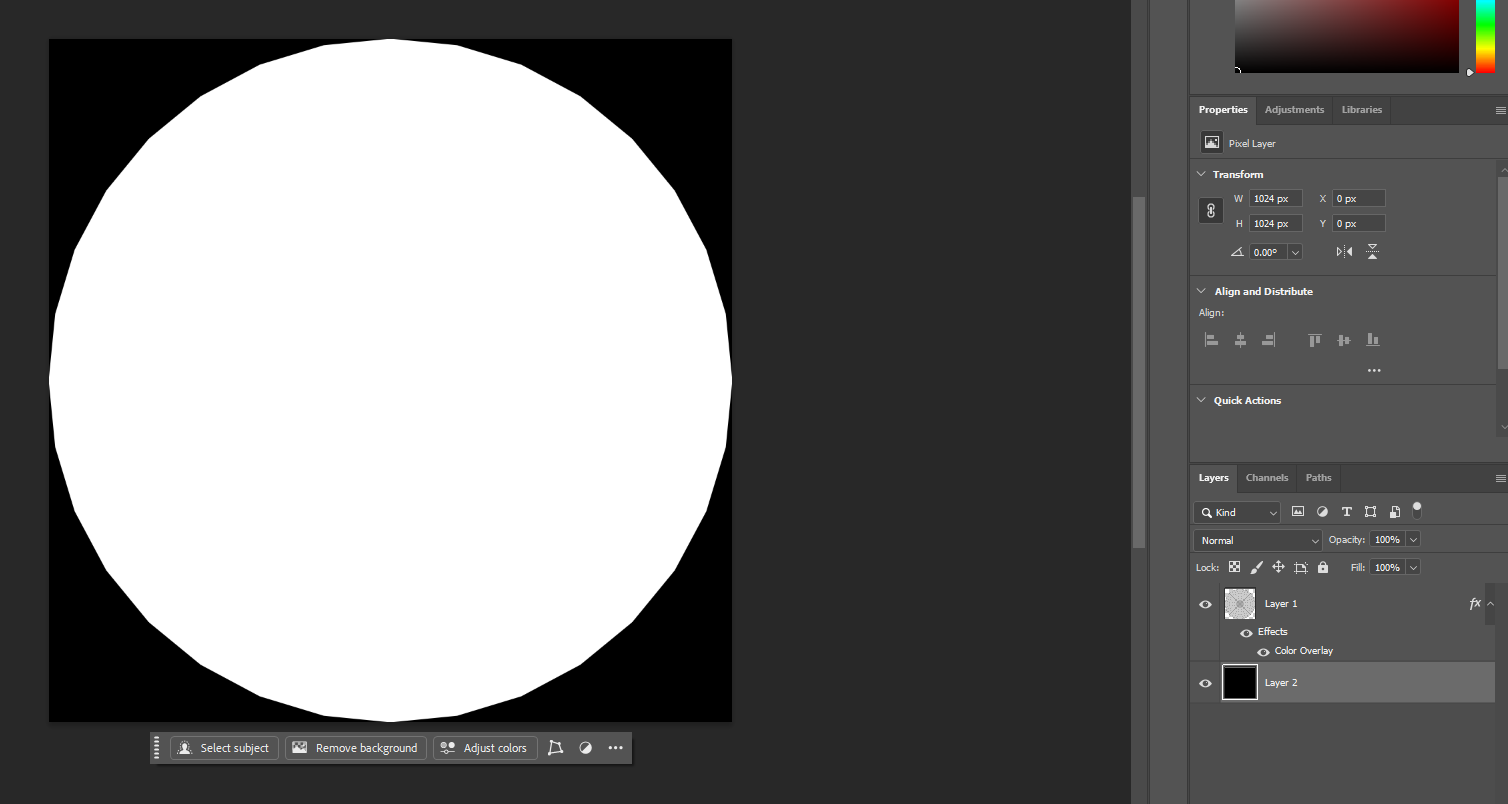
Export this image as a
PNGfor use in Unreal Engine as yourOutput Mask.
Adding Mask in Unreal
Select your Projection Type in the
OWL 360 Camera/ Capture Component.In
Details> Advanced, go toOutput Mask, and in the drop down to select amaskfor your output.The
maskshould be the same resolution and aspect ratio as your target output.If you are adding your own mask you should drag it into your
Content Browserand it will show in this list:
Now in your
PreviewandRender Targetyou will see your projection rendering only to your mask: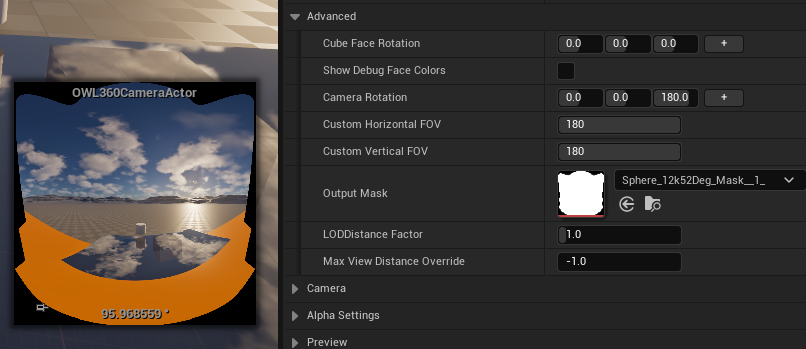
Optimising Rendered Pixels
Click
Show Debug Face Colorsto show how the cube faces from your projection currently are aligned inside yourmask:
Now begin to adjust the
Custom Horizontal and Vertical FOVvalues to constrain thepixelsin your projection to only those needed by yourmask:When you reduce these
values, will see cube faces grow in yourpreviewbecause they are occupying a larger proportion of theFOVyou are rendering.For example, if you have a hemisphere, you only need a
Horizontal FOVof180(not360)In the mask example here, the below values are correct:

Now you can go to the
Face Controlsection and when you pressAuto-Calculate, it will automatically reduce the size of the cube faces being rendered to match theHorizontal and Vertical FOVvalues you have input:
Rendering in Movie Render Queue
In Movie Render Queue, all your
Projectionsettings (type,FOV) are automatically inherited from your360 Camera/ Component, but you need to add themaskagain:In
Output> Mask> Output Mask Path, select the mask you added to the360 Camera:You have an option to choose a
Relative Pathhere if you want to share your project with other artists:
Now when you render, you will render to the
maskand you will only render thepixelsrequired by yourFOVsettings.