This method is only advised for people who have the older '360 Degree Live-Streaming Camera' or the 'Live-Streaming Toolkit PRO' License.
It will generate renders of significantly inferior quality to our Movie Render Queue integration. If you need a professional render please use that method.
- Go to Edit>Plugins and ensure that the Movie Render Queue and Live-Streaming Toolkit plugins are enabled in your Unreal Plugins (if not, enable and restart):


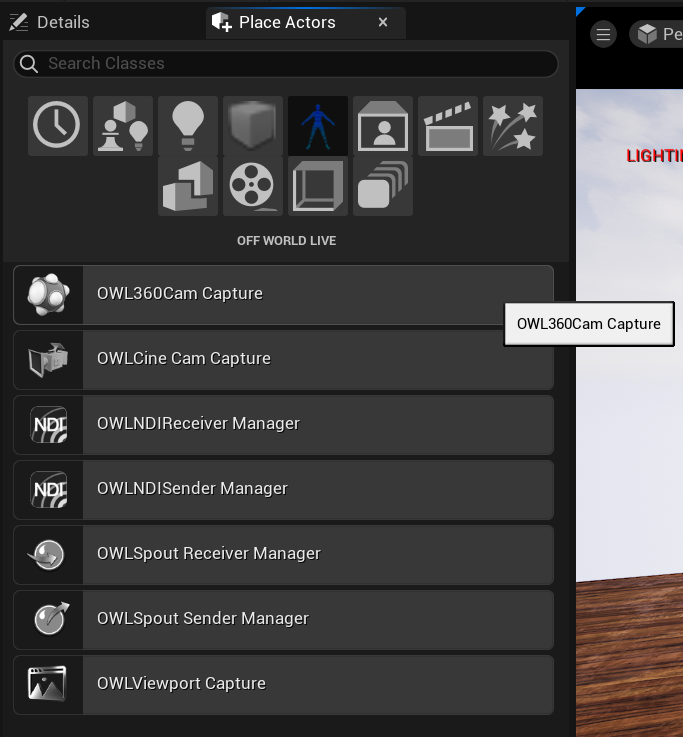
- Go to your 'Place Actors panel and from the Off World Live section drag-and-drop an OWL360 Cam Capture into your scene:
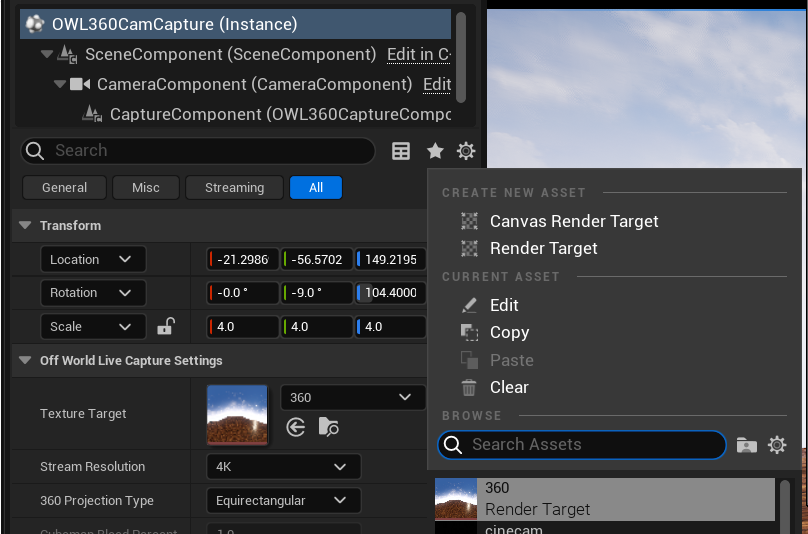
- Go to the 'Details' panel of your 360 Camera and click the drop-down next to 'Texture Target' to add a new Render Target to capture the output of the Camera. (You can also adjust any other camera settings you need at this point or later):
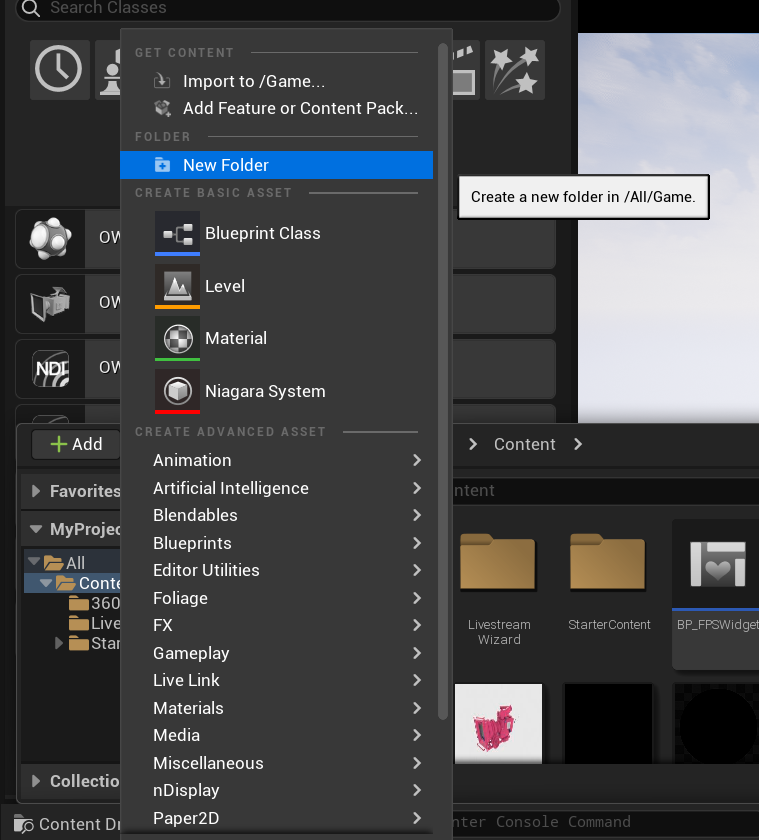
- Go to your Content Drawer and create a new Folder called '360 Render':
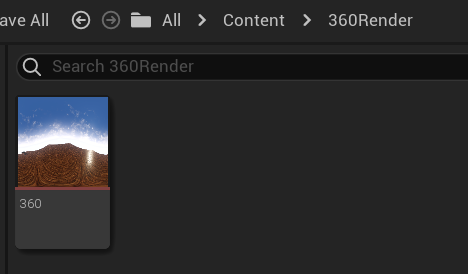
- Move your 360 Render Target into this new Folder:
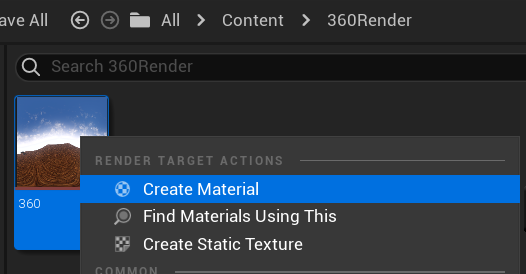
- Right-click on your 360 Render Target to create a material from it:
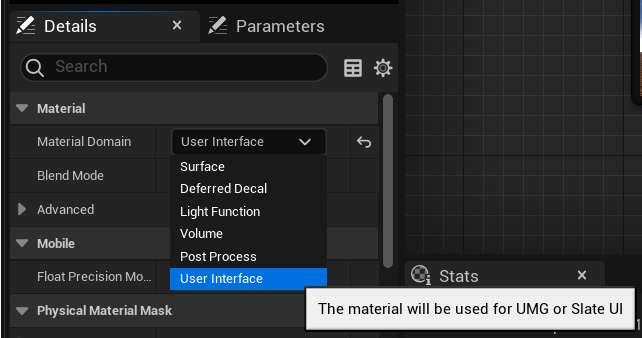
- Double-click your new Material to open it's Window and in the Details panel change 'Material Domain' to 'User Interface':
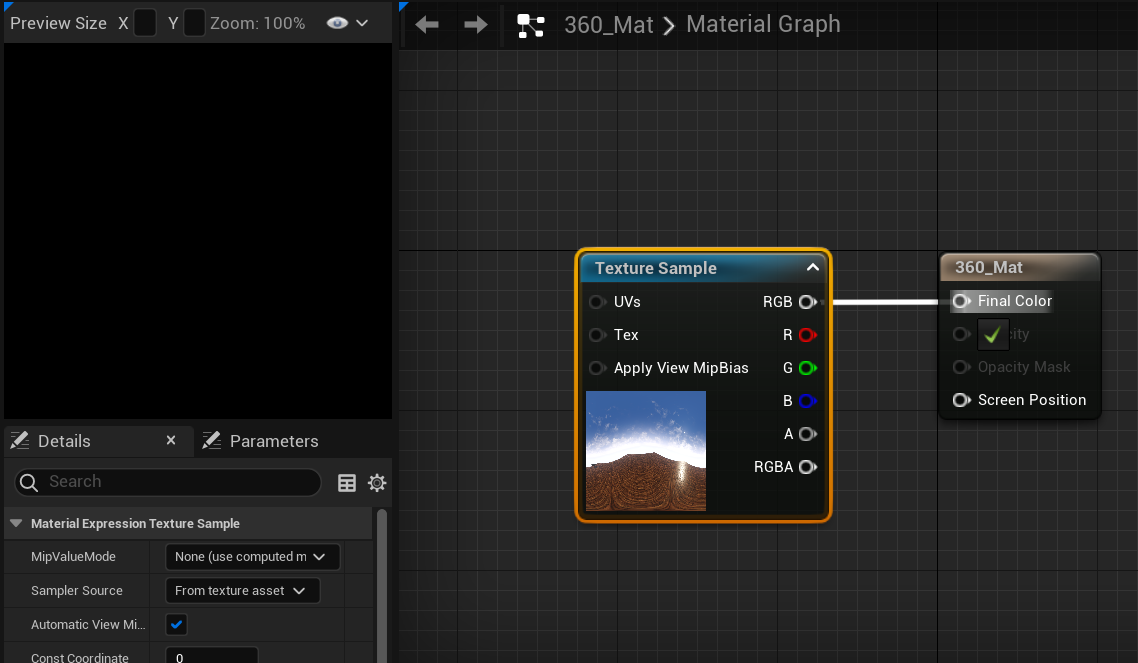
- In the Material Graph to the right connect 'RGB' from your Texture Sample to 'Final Color' in your 360_Mat (and save your material):
- Go back to your 360 Render Folder, right click and select 'User Interface'> 'Widget Blueprint'> 'User Widget'. Rename the Widget '360 HUD':
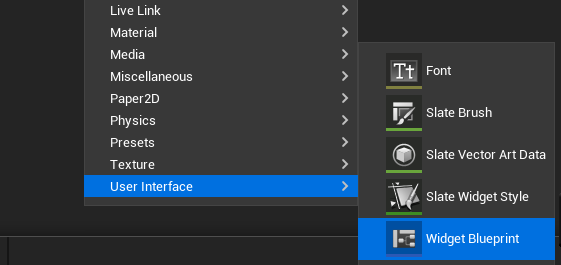
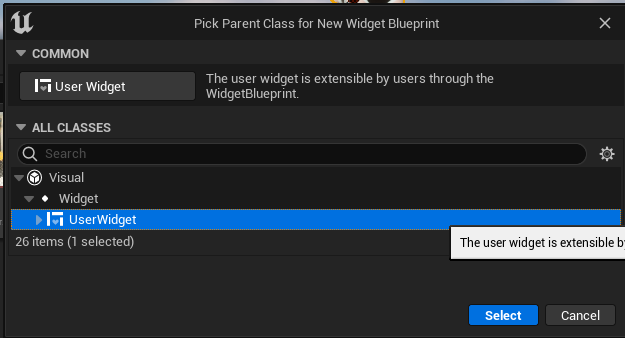
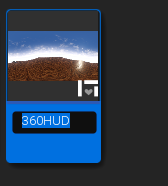
- Open the Widget, in the 'Hierarchy' make sure that '360HUD' (or whatever you have named your Widget) is selected and drag-and-drop an image into the canvas (if there is a 'Canvas Panel' already underneath '360HUD' you can delete it, there should only be your image underneath as it shows below):
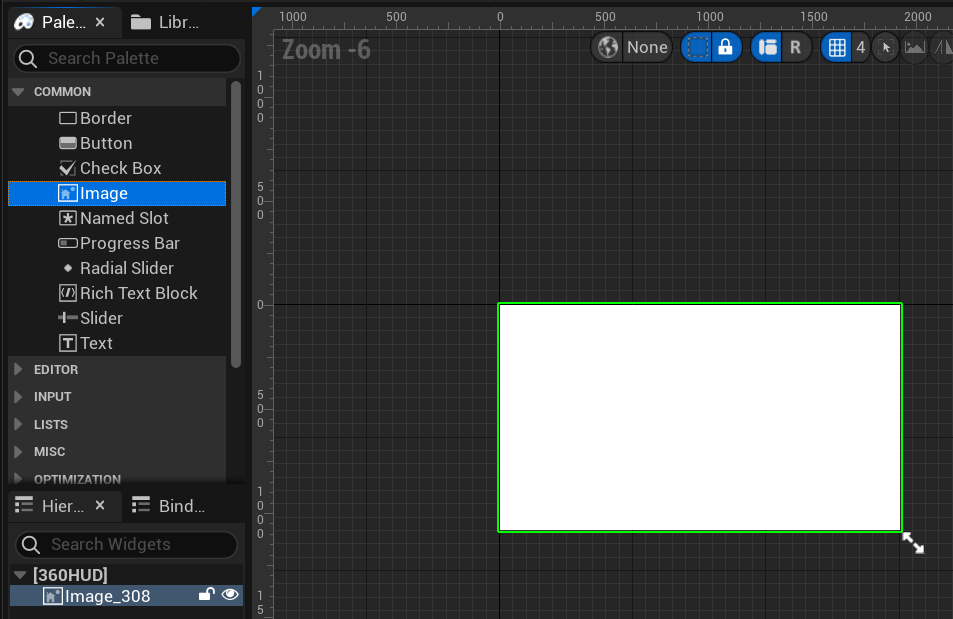
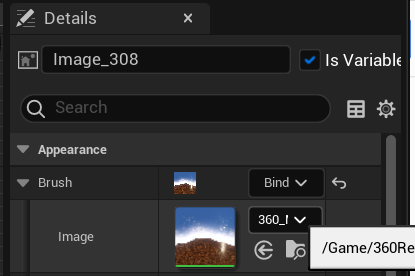
- In the Details panel of the Image, go to 'Appearance'>'Brush', select your 360 Material using the drop-down next to 'Image' (and save your Widget):
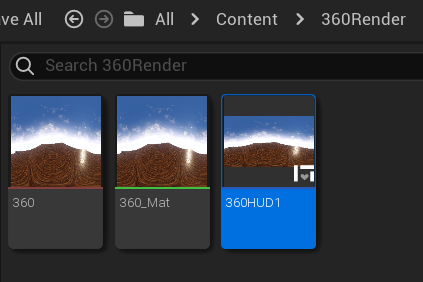
- Your 360 Render Folder should now look like this:
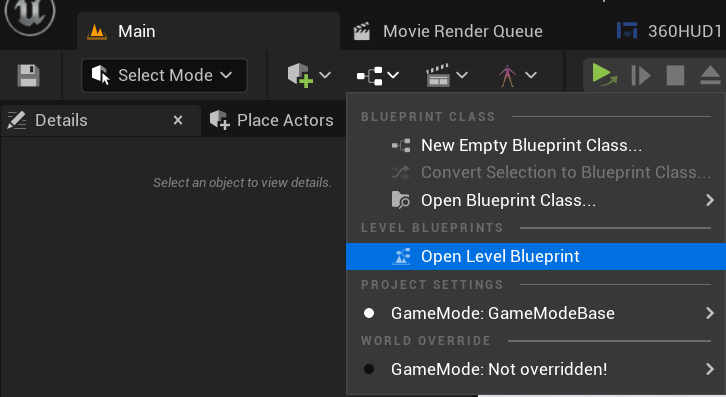
- Now open your Level Blueprint:
- Inside the Level Blueprint paste in this Blueprint. Where it says 'Class' next to the purple circle below, select from the drop-down options your '360HUD' Widget you created at Step 9. (Compile and save!):
- If you don't already have a Sequence for Movie Render Queue, click 'Add Level Sequence' and name it '360sequence':

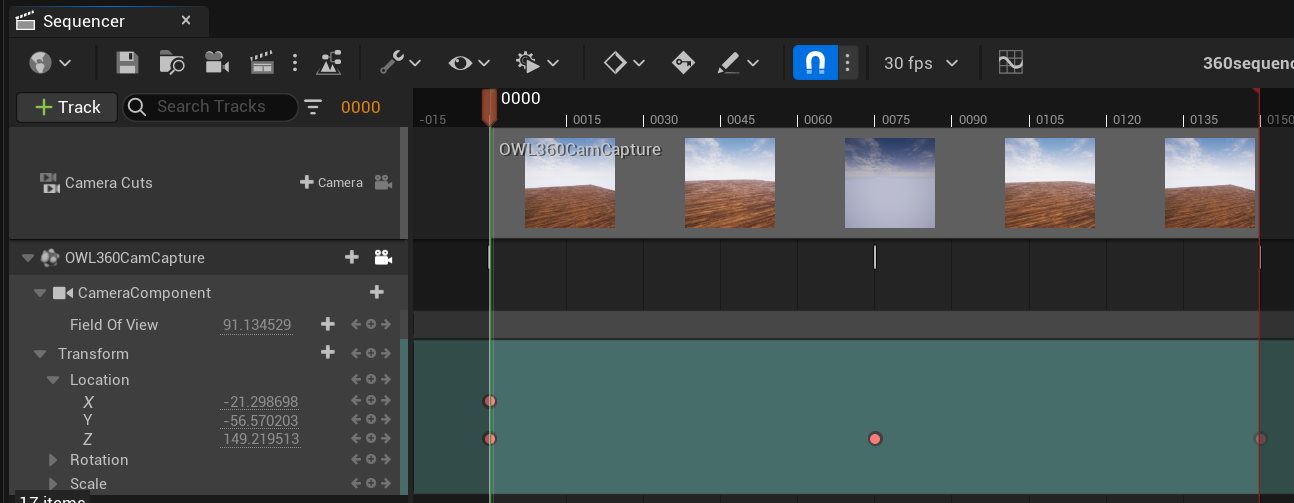
- Now drag-and-drop the 360 Camera into your Sequencer Window (you will see a basic sequence of frames appear):

- If you want to add movement to the camera you can change the Transform> Location values at different time-points during the Sequence:
- To Render this Sequence using Movie Render Queue click the 'Clapperboard' icon to open the Movie Render Queue Window:

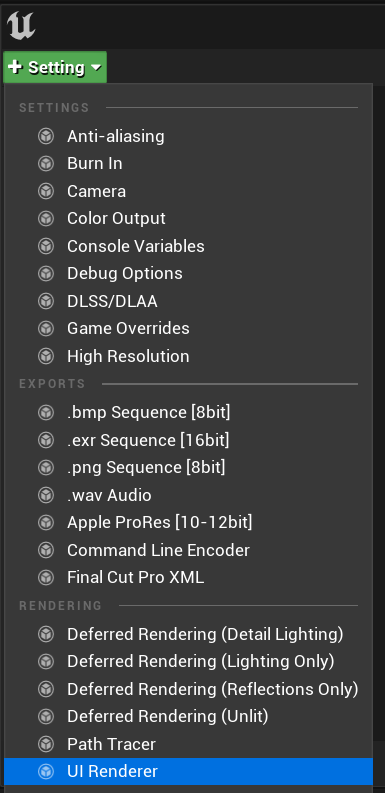
- You will see your 360sequence in the Job list, click 'Unsaved config' to input the settings for your Render and add the Setting 'UI Renderer':
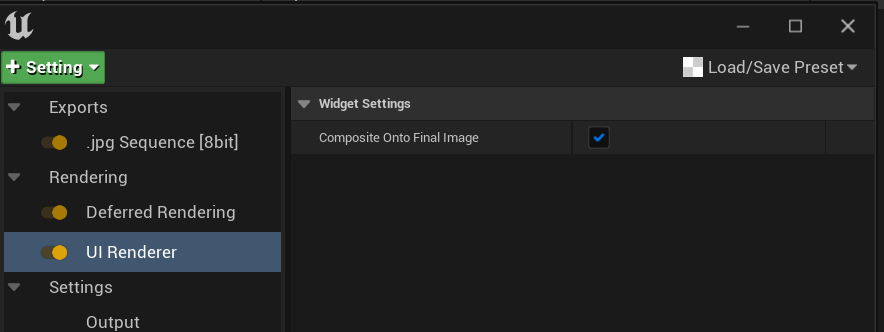
- Ensure that 'Composite onto Final Image' is selected:
- In 'Settings' click 'Output' to select the Resolution of your Render. It is essential that the Resolution of your 360 camera and that of your Render are the same. In the example below the resolution is set to 4K Equirectangular (save!):

- Click 'Render Local' and your 360 output will now Render!

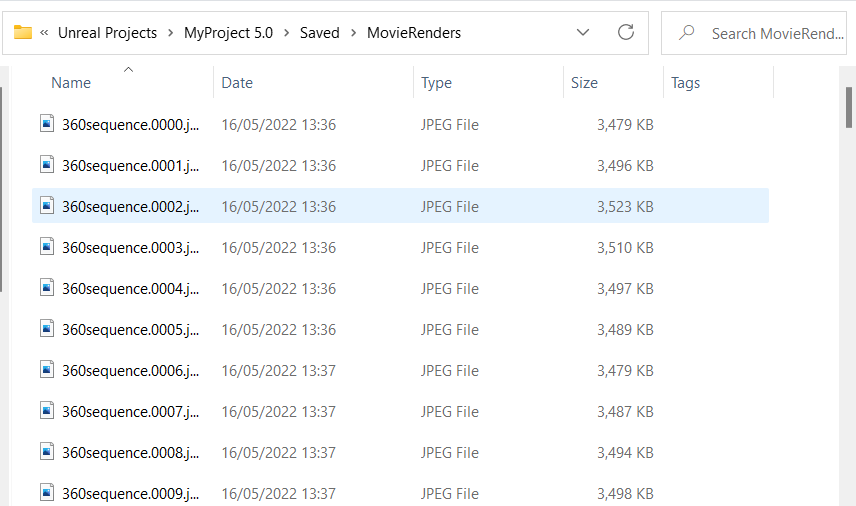
- Check inside the 'Saved' Folder of your Unreal Project to find the rendered output:
