Sometimes the surface you are projecting on isn't a standard shape. In that case you can use our 'Custom Projection' option, which allows you to input a Mask from a UV Unwrap of your projection space and render the exact pixels you need for that projection.
This is available for Equirectangular, Mono Equirectangular, VR 180 and VR 360 projection types.
Rendering only the pixels you need will increase performance and give you better file-size management.
- To configure your Custom output in your project, use the OWL360CamCapture or Component to select your Projection Type:
- In Advanced, you will see a number of new settings:
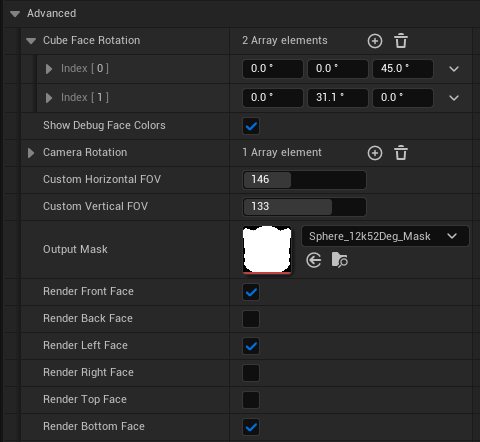
- Cube Face Rotation: This allows you to rotate the cube faces (but not the camera itself) so that you can only use the exact cube faces required for your render.
- Show Debug Face Colors: This tickbox will overlay a cube showing you the exact position of each cubeface on your current render output. You can use this in combination with 'Cube Face Rotation' and 'Horizontal/ Vertical FOV' to select the minimum number of cube faces to render your output. You can then use Advanced> and deselect any cube faces you are not using, saving render time and performance.
- Camera Rotation: This allows you to rotate the camera itself, this will affect your content output.
- Horizontal FOV: This makes wider or more narrow the horizontal Field of View of your Output.
- Vertical FOV: This makes wider or more narrow the vertical Field of View of your Output.
- Output Mask: This is the Mask of the surface you will be projecting on, you can upload this as a png, Make sure the resolution is aligned with your target output resolution.
- Render 'x' Face: This allows you to deselect faces which aren't required for your mask.
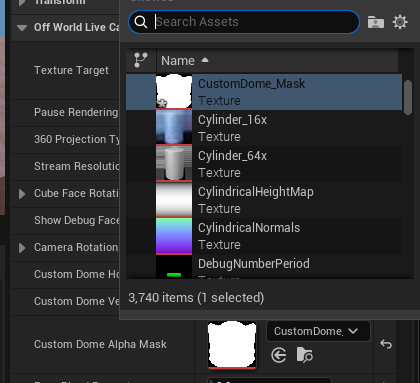
- In Output Mask, use the drop down to select a Mask for your output. You can add this as a png into your Content Browser:
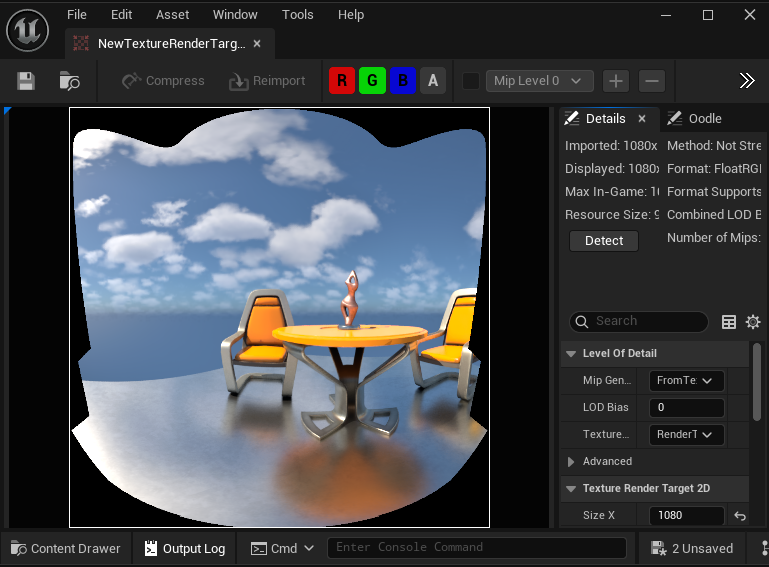
- Now when you open your Render/ Texture Target you will see that your output matches this Mask:
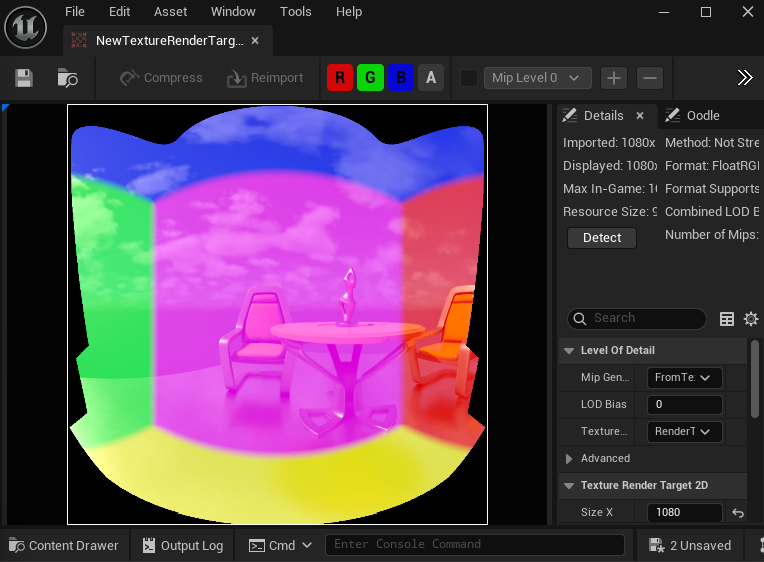
- To find the minimum number of faces that can be used to render this output, enable the 'Show Debug Face Colors':
- You can adjust the horizontal and vertical FOV settings if your mask covers a smaller area than the full projection you are using.
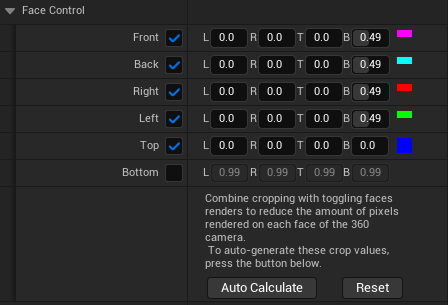
- When you press Auto-Calculate in Face Control, it will automatically reduce the size of the faces so you are only rendering the pixels required for your mask and FOV.
- To Render this in Movie Render Queue, you can open your settings as normal from the Sequencer. In the OWL 180/ 360 Rendering section you will see a new option for 'Update from 360 Component'. When you click this it will automatically import all your settings from your OWL360Capture/ Component:
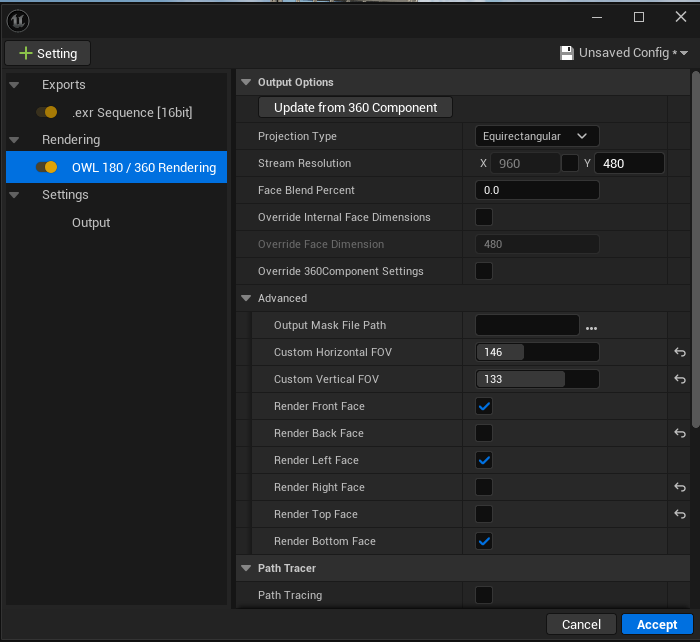
- The only option that will not automatically update is your Mask, which you will need to add as a file path using 'Output Mask File Path'.
- We don't recommend adjusting settings here (because you can't preview the output), but if you want to you can select 'Override 360Component Settings' and you will see the Custom options appear.
- You can now render and you will output the exact pixels required for your Custom projection!