Anti Aliasing cleans up edges and reflections that would otherwise look unnaturally crisp or jagged. It works by taking samples from parts of the pixel and using those samples to smooth out colors (either within a frame or between multiple frames) so that the elements in your scene have smoother edges.
There are two types of samples used to control Anti-Aliasing:
- Temporal Samples: These are samples taken across multiple frames which helps smooth out moving objects or effects caused by moving cameras.
- Spatial Samples: These are samples taken around the area of a pixel to determine the best average of colors with the goal of smoothing transitions between the colors to stop jagged lines.
In deferred rendering, Unreal Engine has highly optimised forms of anti-aliasing such as TAA (Temporal Anti-Aliasing) and TSR (Temporal Super Resolution).
A Third Option: Downscaling from a Higher Resolution:
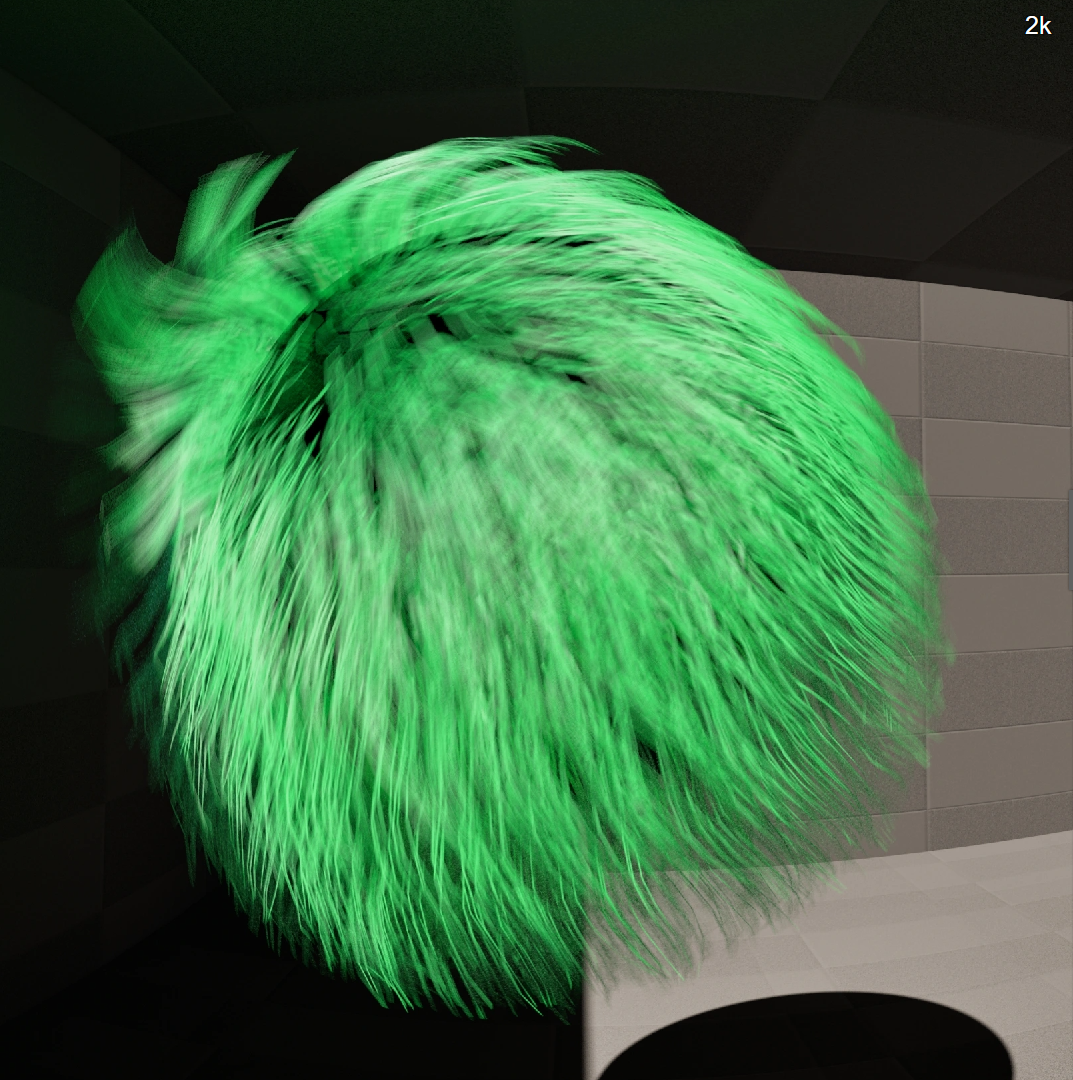
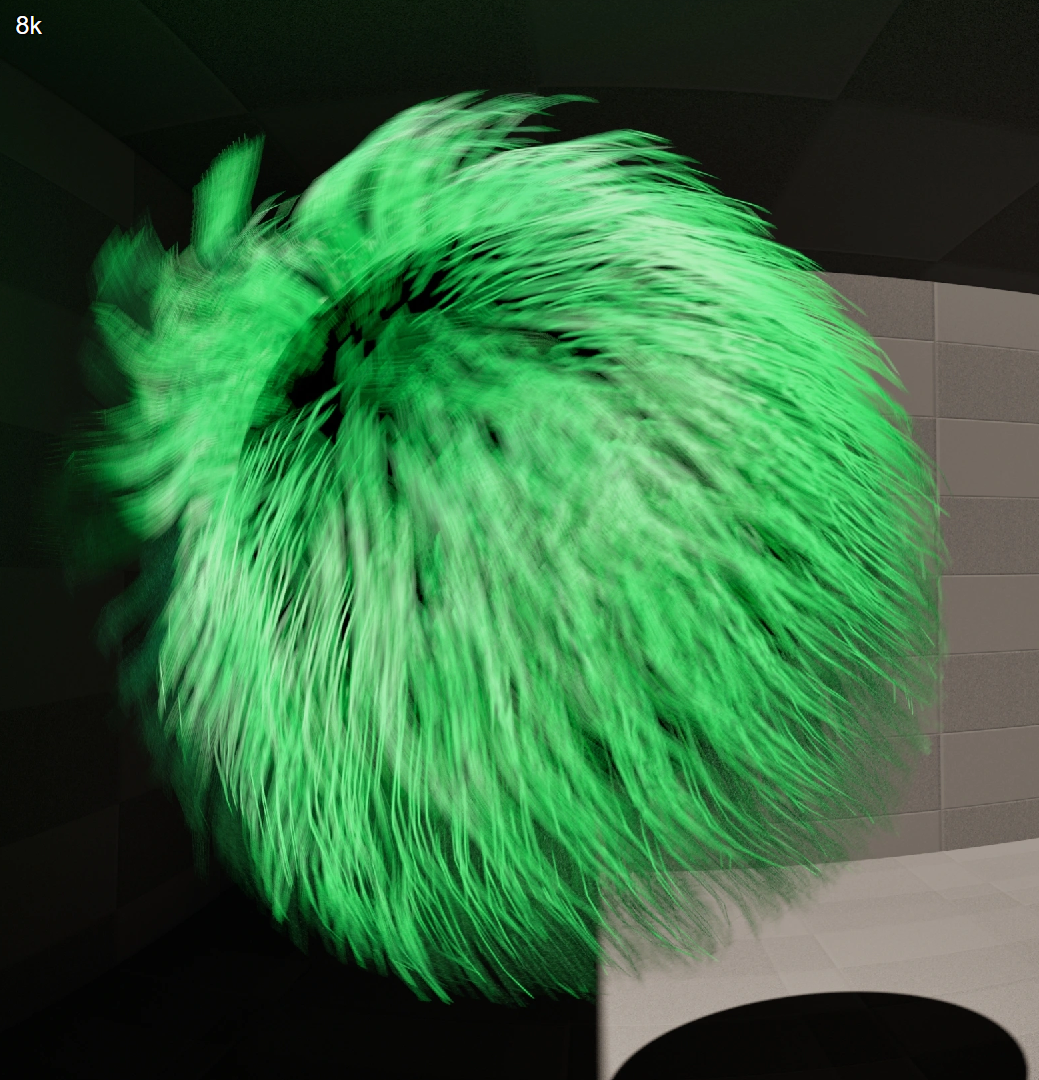
- Some artefacts such as noise in dense groom assets (hair) can only be reduced by raising the resolution of an image.
- Below is a comparison between a 2k and an 8k output, showing much greater detail in the shaded areas of the groom:


- A higher resolution render will of course have an impact on render times, but may be faster than raising anti aliasing samples counts, or may be the only way to achieve the desired result.
- When you downscale from a higher resolution (you can do this in DaVinci or Premiere Pro) you retain the detail gained.
When Should You Increase your Anti-Aliasing Samples in Deferred Rendering?
Epic says you only have two reasons to increase Temporal or Spatial Samples in Movie Render Queue:
- If you see bad quality in your motion blur, you should increase Temporal Samples.
- If you see bad anti-aliasing that isn't motion blur you should increase Spatial Samples, in which case you should set AntiAliasing to None (more detail below).
Epic recommends:
- Using Temporal Super Resolution (TSR) as your anti-aliasing method. This is set in you Project Settings.
- ONLY use Spatial Samples if AntiAliasing Method is set to None, otherwise you will be increasing your render times for no benefit (more detail below).
- ONLY increasing Temporal Samples: "There isn’t any advantage to mixing temporal and spatial samples. Do not mix and match."
- Increasing temporal sample count if you don't see smooth motion blur: "Faster moving shots will need more Temporal Samples than slow ones."
- Use ODD numbers (3, 5, 7, 9, 11) for your Temporal Sample count: "it's best to keep your sampling to odd numbers so that you get a sample on the keyframe for any animated impact or change or direction".
- NOT increasing your Temporal Sample count above 12: "anything past 12ish is not really visibly seen... you get diminishing returns and should consider setting the AA method to None."
When Should you Use Spatial Samples in Deferred Rendering?
Epic recommends:
- If you are having to increase your Temporal Sample count ABOVE 12; and
- You have adjusted the non-anti-aliasing settings (below), and
- TSR isn't giving you the right results, then
- You can try setting AntiAliasing Method to None and tick Override Anti Aliasing:

- Use Spatial Samples as well as Temporal Samples to try to get the shot you need.
- As little as 1 Spatial Sample and 3 Temporal Samples can achieve an image as clean as UE’s standard AA settings.
Epic suggests scenarios like:
- "If you had a really hot, thin piece of geometry and it's really hard to get the outline clean.
- Or a bunch of think lines stacking up on one another going back in Z-axis from the camera.
- These are hard problems for TAA to handle and you might have to count on spatial/temporal samples to clean up the line."
Try Changing Other Settings Before Adding Anti-Aliasing Samples!
In particular, Epic notes that in the following areas it's better to change other settings such as:
- Shadows: "If you see chattering in the shadows consider raising the Samples Per Pixel on the lights. If you have any softness to your shadow at all you’ll want to consider raising it above 1. Especially for Area Lights."
- Reflections: "If you see noise in the reflections then have a look at the settings in the Post Process Volume... They all have their own Samples/Quality.
- Refractions, Global Illumination, Ambient Occlusion: "If you see noise in your Refractions, Global Illumination, or Ambient Occlusion, that needs to be addressed in the Post Process Volume, not Movie Render Queue."
Review Console Variables (CVars): They will be Affecting your Renders!
Epic says "A lot of people don’t realize that everything in the “Game Overrides” section in MRQ is having an effect on your render even if you don’t have it active in the GUI." 
Epic recommends:
- Remove all Console Variable overrides unless you have a specific reason you are including them.
- If you see any large low-frequency noise, that's from Denoisers. You have to find the right Denoiser (Ambient Occlusion, Global Illumination, Reflections, etc.) and shut it off.
- If you disable all the options in the Game Overrides section, aside from Flush Grass Streaming, that will get you as close as possible to what you are seeing in the Editor Viewport (assuming you don’t have any CVar overrides in MRQ).
- The geometry LOD settings here will NOT override anything Nanite. They are only for non-nanite actors.