Most machines should be able render up to 8K (8192x4096) using our 360 Degree Movie Render Queue integration. To increase performance follow these tips:
- Reduce your VRAM overhead by closing the Viewport and pausing the 360 Render Target and then re-opening Unreal (to flush the VRAM).
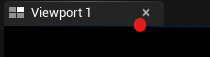
- Close your Unreal Viewport (click the blue in the top corner to open the tab if you need):
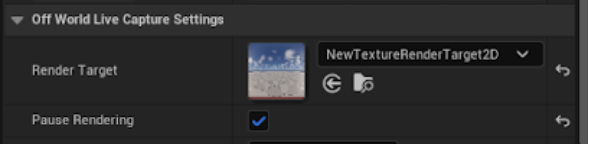
- AND pause your OWL 360 Live Camera.
- Then Save All AND close and reopen Unreal.
- When Unreal opens initiate your render without opening the Viewport or the OWL 360 Live Camera.
- Close your Unreal Viewport (click the blue in the top corner to open the tab if you need):
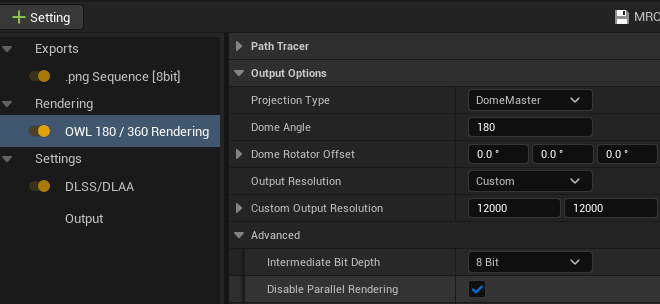
- "Disable Parallel Rendering" (PRO license only) makes Movie Render Queue render each frame sequentially reducing the amount of data that needs to be held in memory.
- To select it just tick the option in the Advanced settings of the OWL 360 Rendering in MRQ:
- You will see your render time increase (because each frame is rendering in sequence rather than in parallel) but you should be able to increase your resolution.
- To select it just tick the option in the Advanced settings of the OWL 360 Rendering in MRQ:
- If you are a more advanced user you can also render from the command line using the guide here.
- Upsampling replaces some pixels in your render with AI generated pixels, reducing your VRAM load. It can cause artefacts, especially with fast moving objects, so you need to run some test renders to see if it will work for you:
- TSR is Unreal Engine's upsampling algorithm which works with NVIDIA and non-NVIDIA GPUs. This will automatically be activated when you select Temporal Super Resolution in your Movie Render Queue Anti-Aliasing settings (for Lumen renders). If you don't have TSR selected then this will not be initiated.
- DLSS for Movie Render Queue (NVIDIA GPUs only) is a similar system but is slightly more configurable than TSR:
- Just add the DLSS and DLSS for Movie Render Queue plugins to your project and then enable:

- In Movie Render Queue Settings you will see a DLSS option, add this:
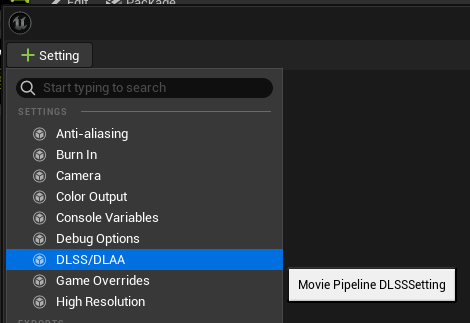
- You can now choose your DLSS setting:
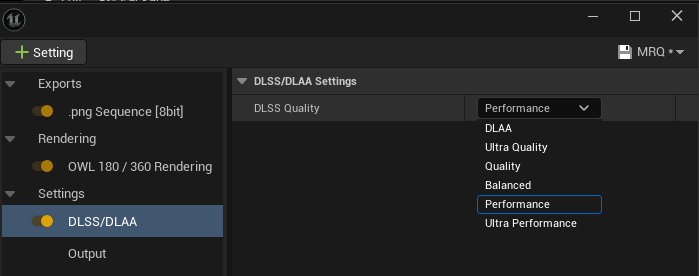
- DLAA: This only activates Anti-Aliasing, it doesn't replace any GPU rendered pixels with AI generated pixels so it will have low/ no performance impact.
- Ultra Performance: This replaces the highest number of GPU rendered pixels with AI generated pixels so you can start with it and then work your way up the DLSS options until you find a balance between visual quality and performance.
- Quality: This replaces the lowest number of GPU rendered pixels with AI generated pixels so you should use it if you see artefacts in your scene generated by lower performance levels.
- When you render, DLSS will automatically apply to your frames
- Just add the DLSS and DLSS for Movie Render Queue plugins to your project and then enable:
- Disable performance intensive Lumen settings can be done using console variables in Movie Render Queue. Some options include
r.Lumen.ScreenProbeGather.ImportanceSample.IncomingLighting: This setting determines if you importance sample incoming lighting to generate probe trace directions. When disabled it will increase performance but reduce lighting qualityr.Lumen.ScreenProbeGather.ReferenceMode: This setting increases the sample count for diffuse lighting. When disabled it will increase performance but reduce lighting quality.
- If you are rendering a 180 Degree (or less than 360 degree) content format, use Face Control to limit your render to only the pixels you need.
- Optimise your level using the guide here.