N.B. All cameras must have the same projection type for crossfade to work. It is not possible to output multiple cameras to EXR layers while compositing is active. All cameras outputs are merged.
- To perform a crossfade transition between two OWL360CameraActors, start with two OWL 360 Cameras in the level.
- These cameras can be in nested sequences. It is unlikely you will reach this limit, but the recursion limit into nested sequences is 15.
-
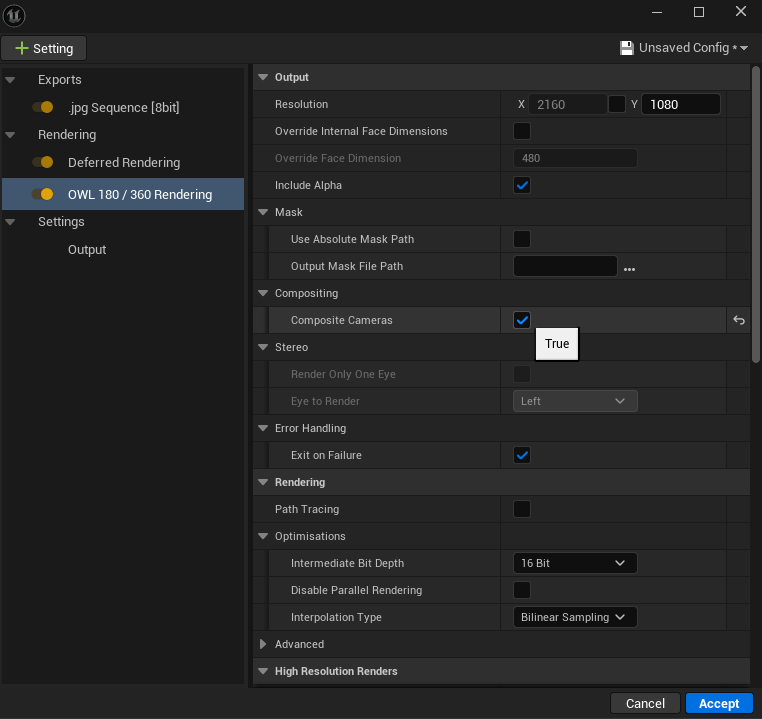
In the Movie Render Queue Settings use the Composite Cameras checkbox to ensure compositing carries through to the final render.
- Ensure that both cameras have been added to your sequence:
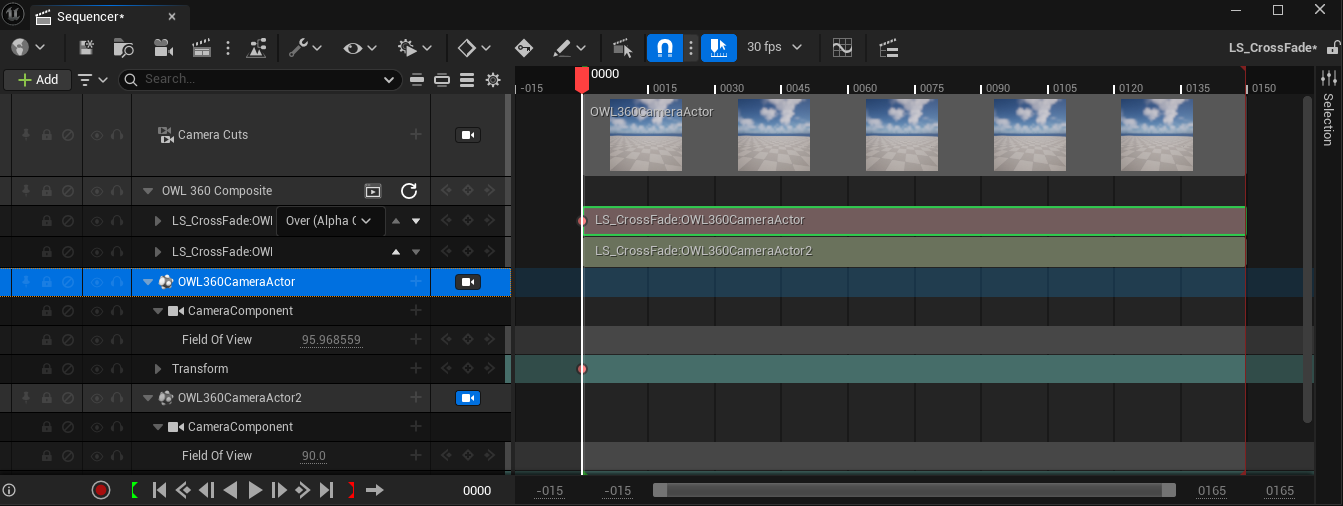
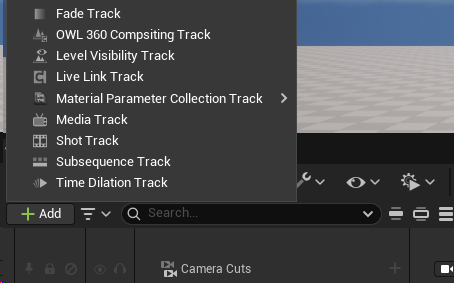
- Click the Add Track button on the top left of the sequencer in the top level sequence and add OWL 360 Compositing Track:
- Once clicked you will see a new track OWL 360 Compositing in your track list with the following three buttons:
-
 Preview: Opens the preview window to simulate the final composite.
 -
Refresh: Manually triggers a refresh of the cameras in this and nested sequences, automatically unbinding sections no-longer connected to cameras in the sequence.
-
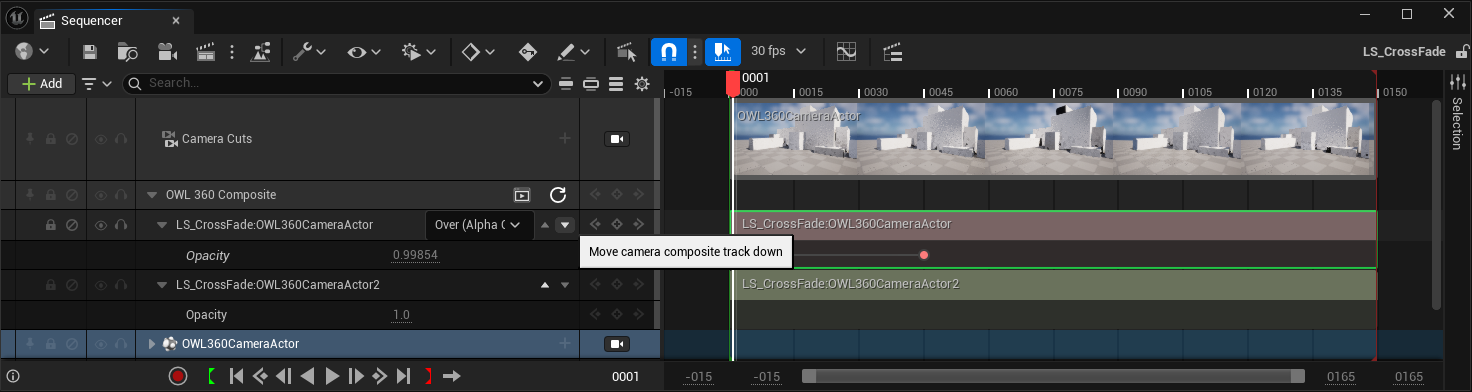
Add Track: Opens the context menu to select cameras from this and nested sequences to key opacity and change blend modes.
-
- Click the Add Track button and select at least one of the cameras from your sequence or nested sequences.

 The order of these sections is important. The bottom track will be composited at the bottom and each subsequent track above it composited in that order.
- The order can be changed using the arrow / caret buttons.
- Expanding a track, reveals the Opacity track which can be keyed. 1.0 is completely opaque and 0.0 is transparent.

-
Expand and add a keyframe for the opacity track of the top track.

-
Add a second keyframe with an opacity value of 0 to the top track.

- Be sure to save the sequence.
-
Change the order of compositing using the arrow buttons.
-
Change the blend mode of the composite using the dropdown in the compositing track.
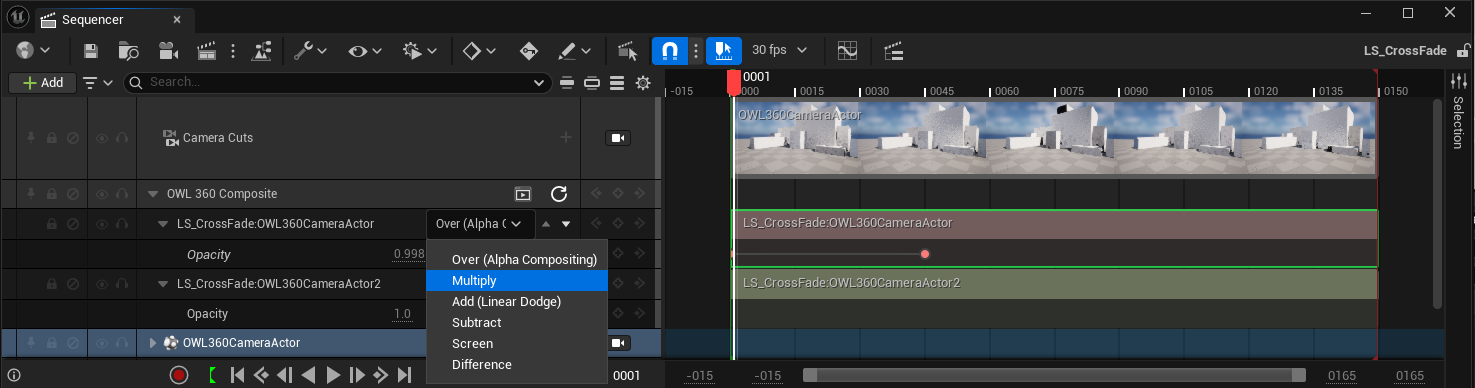
- Blend modes will always be active over their below layer, so will need to be crossfaded by adding the reverse opacity keyframe to the layer below.
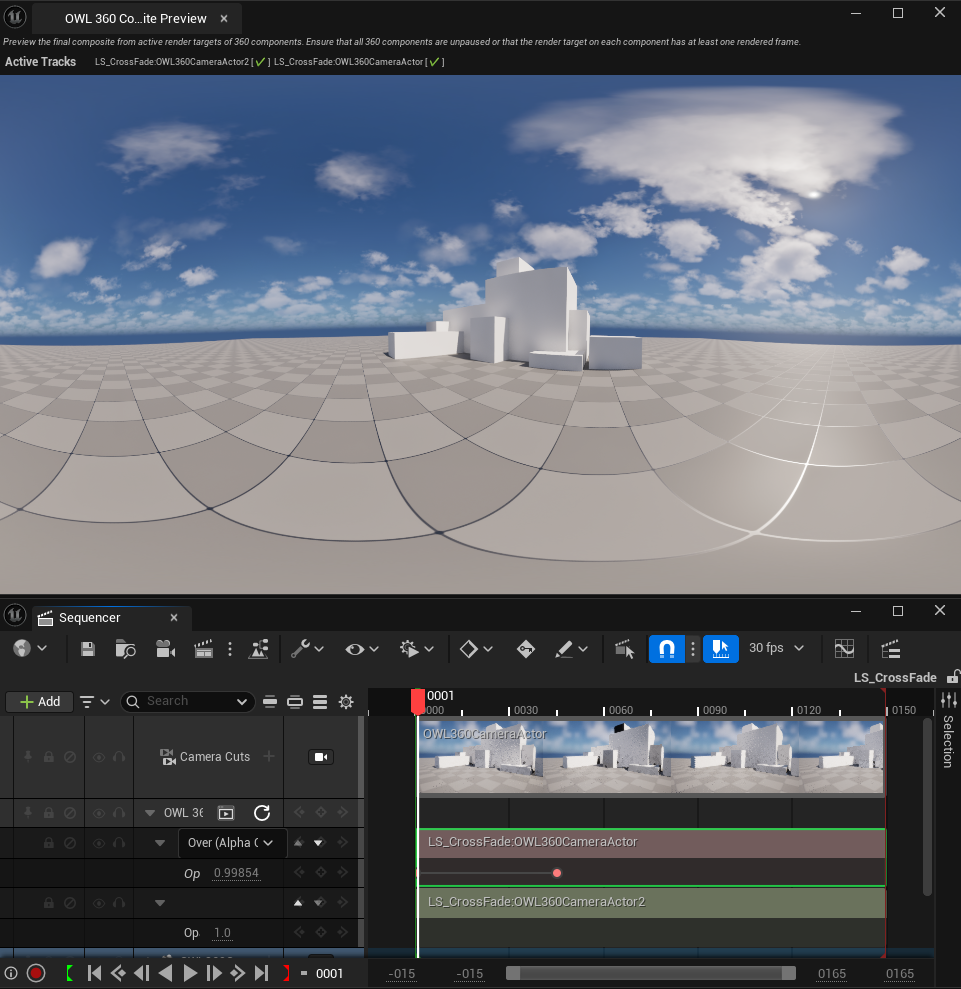
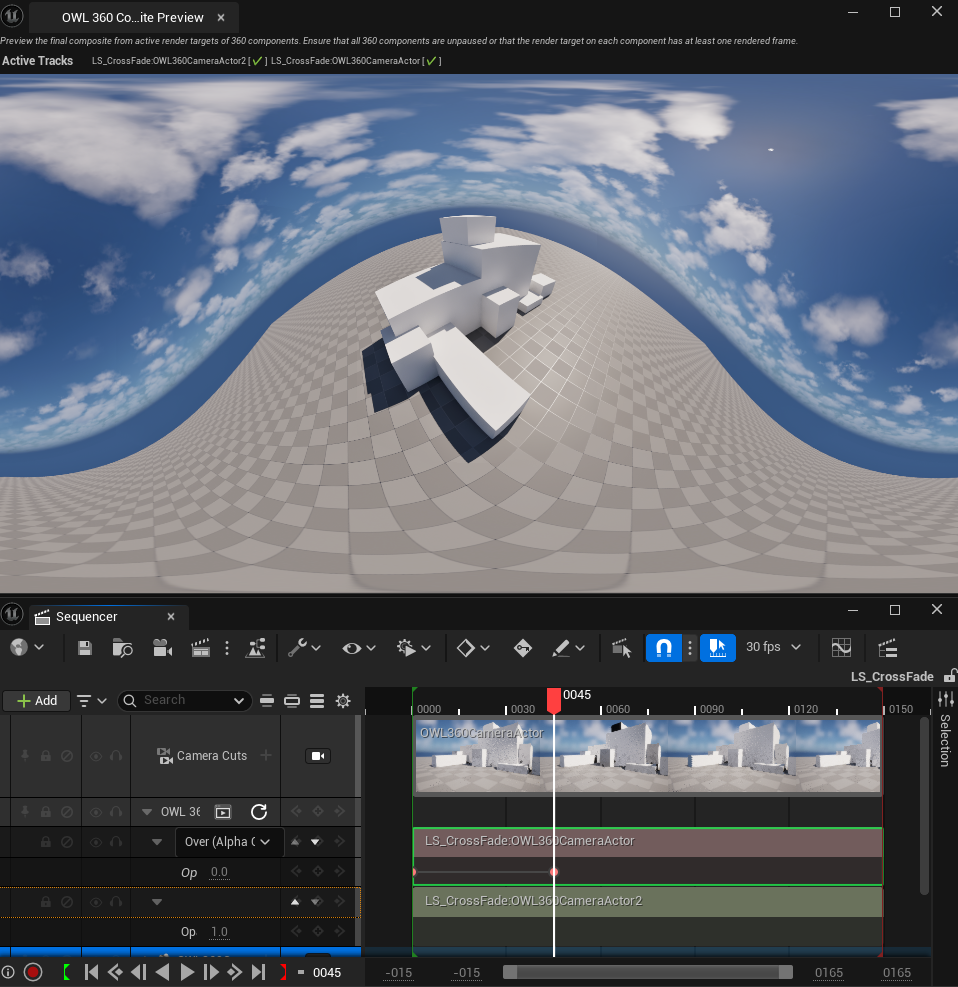
Previewing the CrossFade
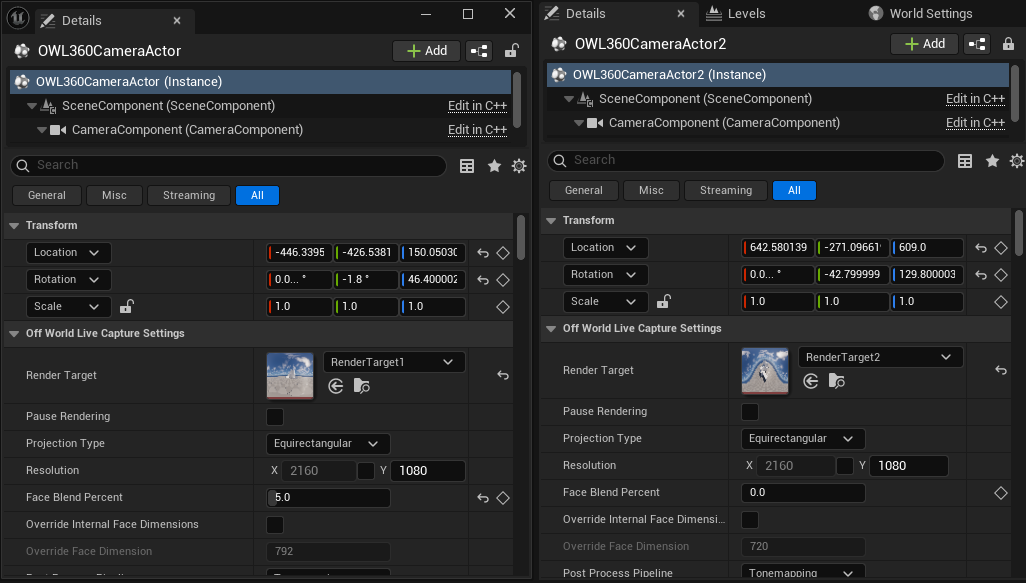
- Ensure that both cameras have a unique render target and their rendering is not paused.
-
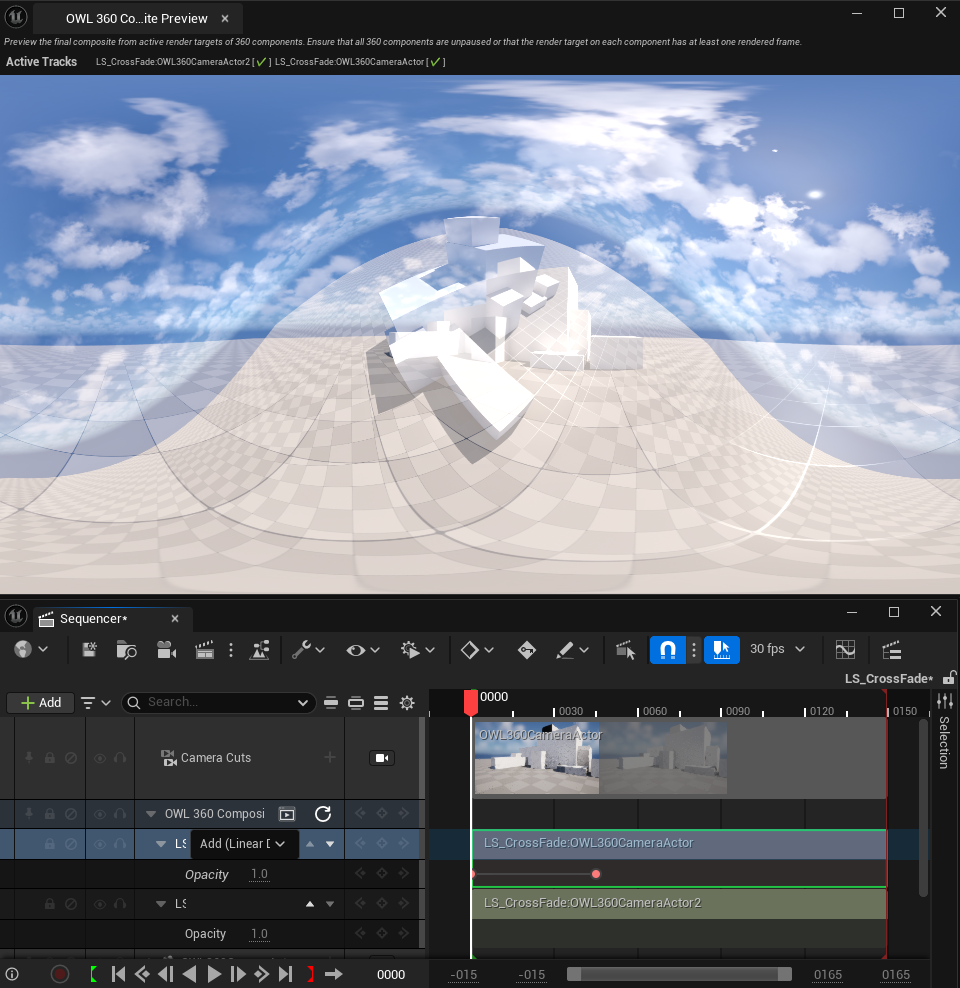
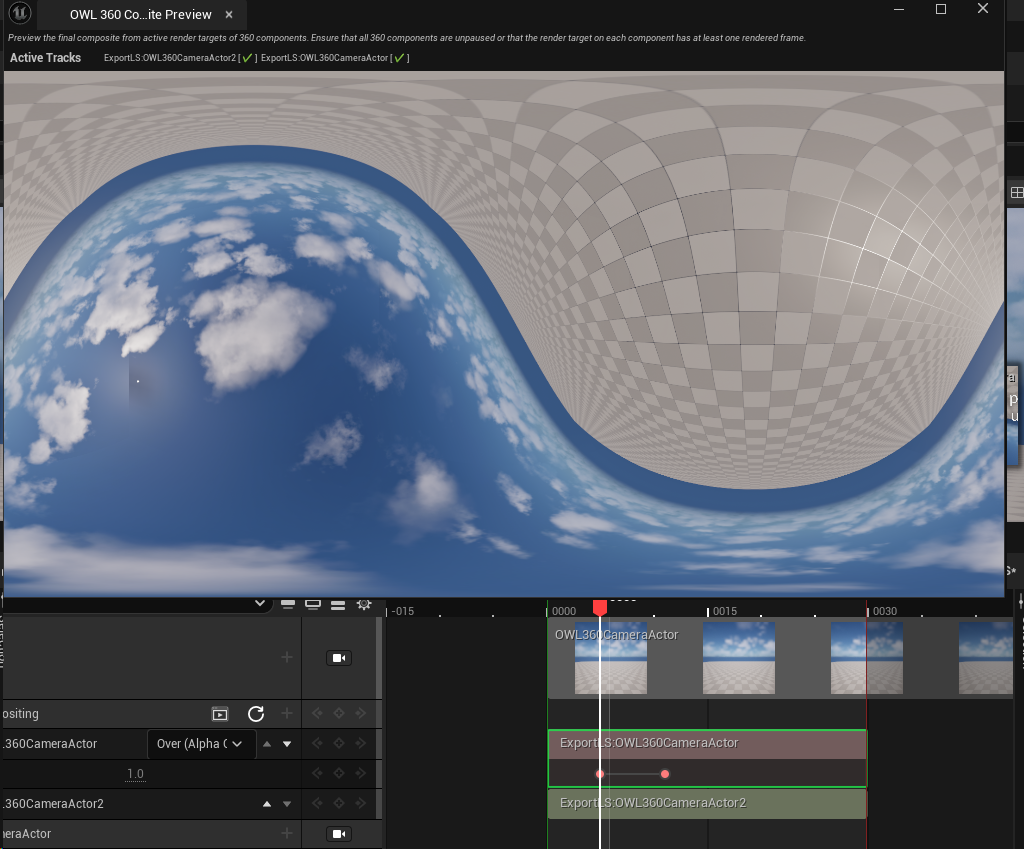
Use the preview icon to launch the composite preview window for visualising the 360 composite.

-
The Preview Window can be docked anywhere in the editor or left floating above. The aspect ratio is not automatically adjusted so will not be resized to the final aspect ratio by default, however the window can be resized manually.
-
Scrub the timeline with the preview window open to preview the transition.
- Position 1:
- Position 2:
- Position 1:
Binding / Unbinding Compositing sections
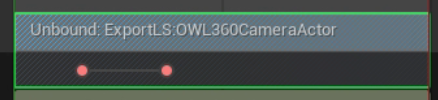
- To Unbind a section, right click on the section and select Unbind. The track will now be marked Unbound while preserving the original camera name.
This track will be ignored at render time unless it is rebound to another camera
-
To bind a track to an available camera, right click on the section and choose Bind To and then select a camera from the submenu. Be sure to save the sequence afterwards.