Due to the nature of 360 projections and theoretical render resolutions of 360 movie render queue outputs, the OWL 360 Burn-In works cannot by default be full screen and must be positioned on top of the final, stitched output.
You can select the size of the burn-in (max 8192x8192) and it's position on your render using the tools below.
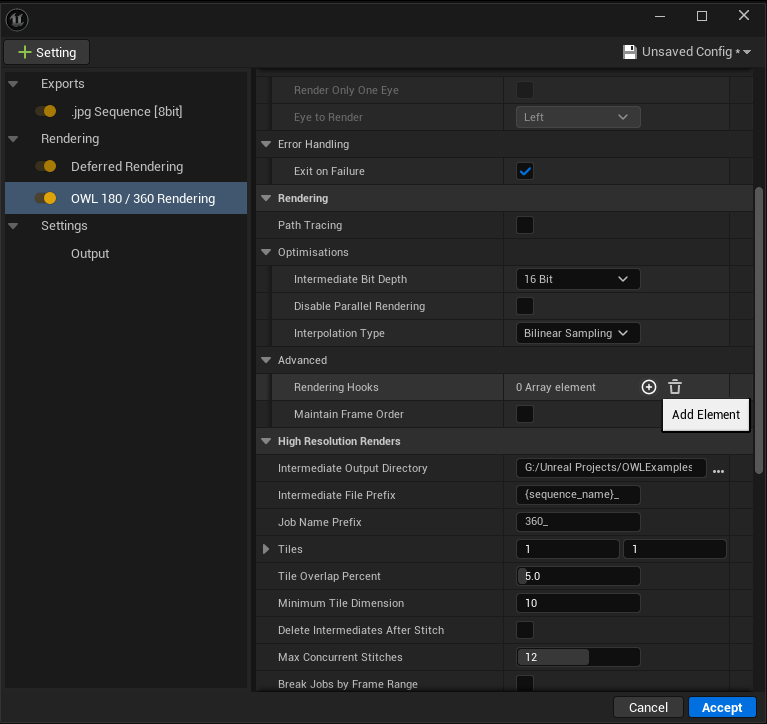
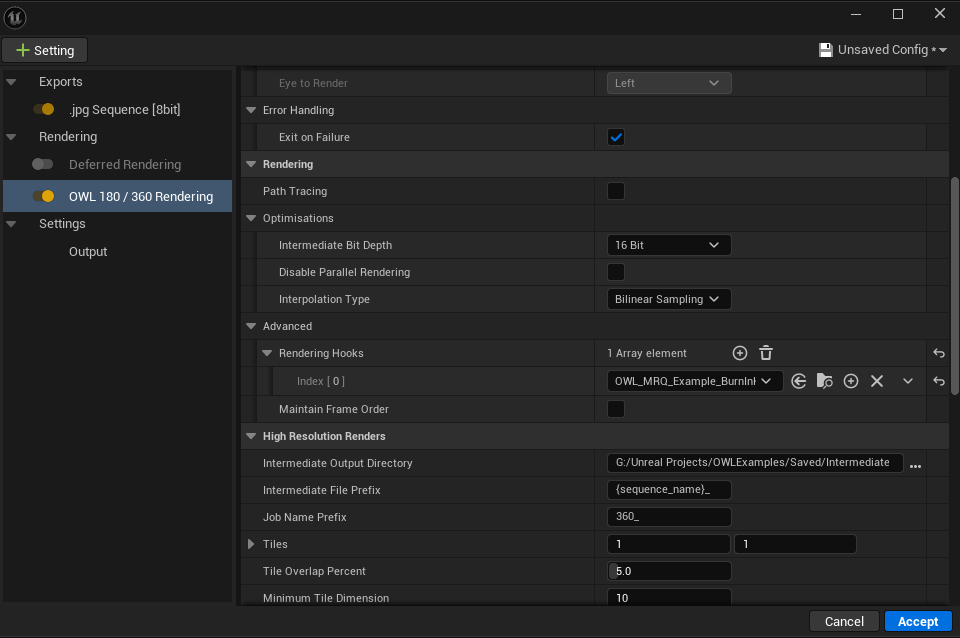
- In the OWL Movie Render Queue settings, add a Burnin Hook Array Element in Advanced> Rendering Hooks:
-
Select the
OWL_Movie_Render_Queue_Example_BurninHookactor to add a standard burnin to the render: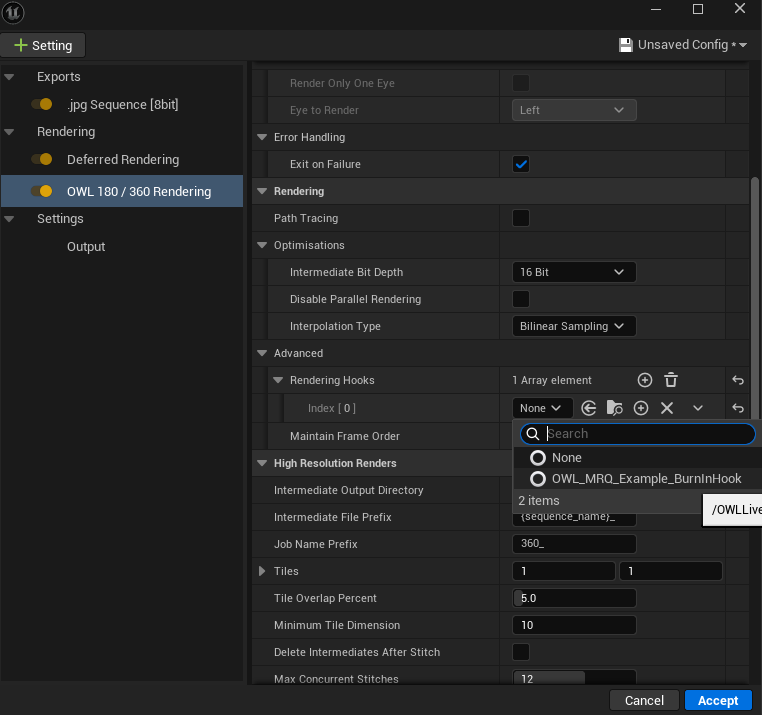
-
This blueprint extends the OWLBurn in Hooks Blueprint class which enables the class to hook into callbacks during rendering of the 360 camera. The core purpose of this is to:
-
Set the size and position of the burn in
-
Set widget blueprint class
-
Set the data on the widget blueprint class for each render
-
-
To set the alignment and dimensions of the Burn-In, Open the blueprint and click on Class Defaults . In the Details panel that emerges you will be able to configure the following options:

- Alignment: lets you choose where on the output frame the burn in widget is rendered to
- Width and Height: This is in pixels and is max dimensions 8192x8192.
- Export as Separate Pass: when ticked exports the widget as a separate layer (uncomposited) with transparency which will appear as a new layer in EXR files. By default it is composited on top of the stitched output.
- Widget Type: is a reference to the User Widget Blueprint class that you will use.
-
In order to update data on the widget, your User Widget blueprint class must have a public method on it with a parameter for the data. In our example user widget, this method is called
Set Data.At runtime the
Widget Typeselected in the class defaults is instantiated to theWidget To Render. Ensure that this is valid first, cast it to your widget blueprint class and then call any relevant public methods on your blueprint class to update the data: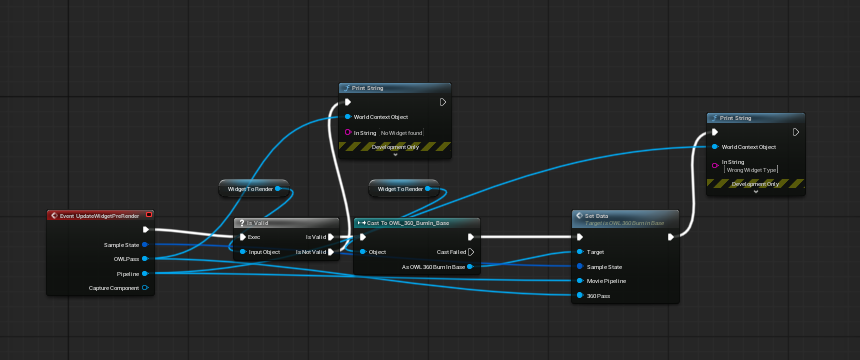
-
The
OWL_360_BurnIn_Basewidget follows the same style as the default Unreal engine MRQ Burn-in widget and you may copy and customise this as you wish.-
Each element of data is a public variable.
- Explore the
Graphsection of the widget blueprint, navigating to theSet Datapublic method. - There you will see the list of available data and how it has been connected to the variables on the UI.
-
-
-
To create a custom Burn-In:
-
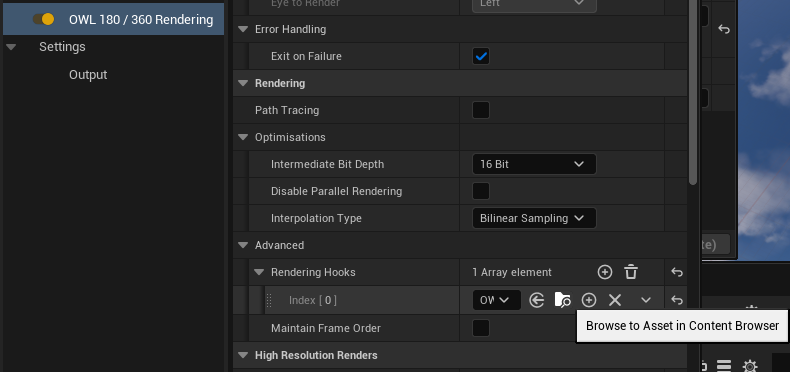
Browse to the Burnin Hook location using the Browse to Asset in Content Browser button:
-
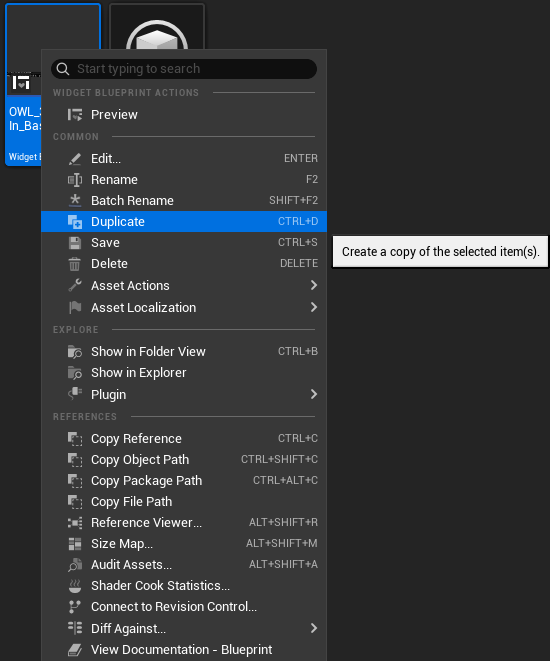
Create a copy of the OWL Burnin Base Blueprint and open it:
-
Make any changes to the
Burnin Widget:
-
Open the
Burnin HookActor: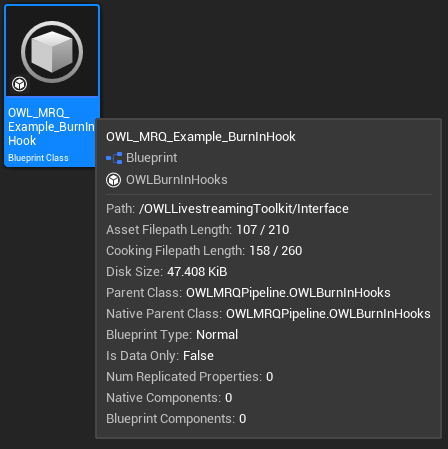
-
Change the Widget Type to the newly created
Burnin Widget: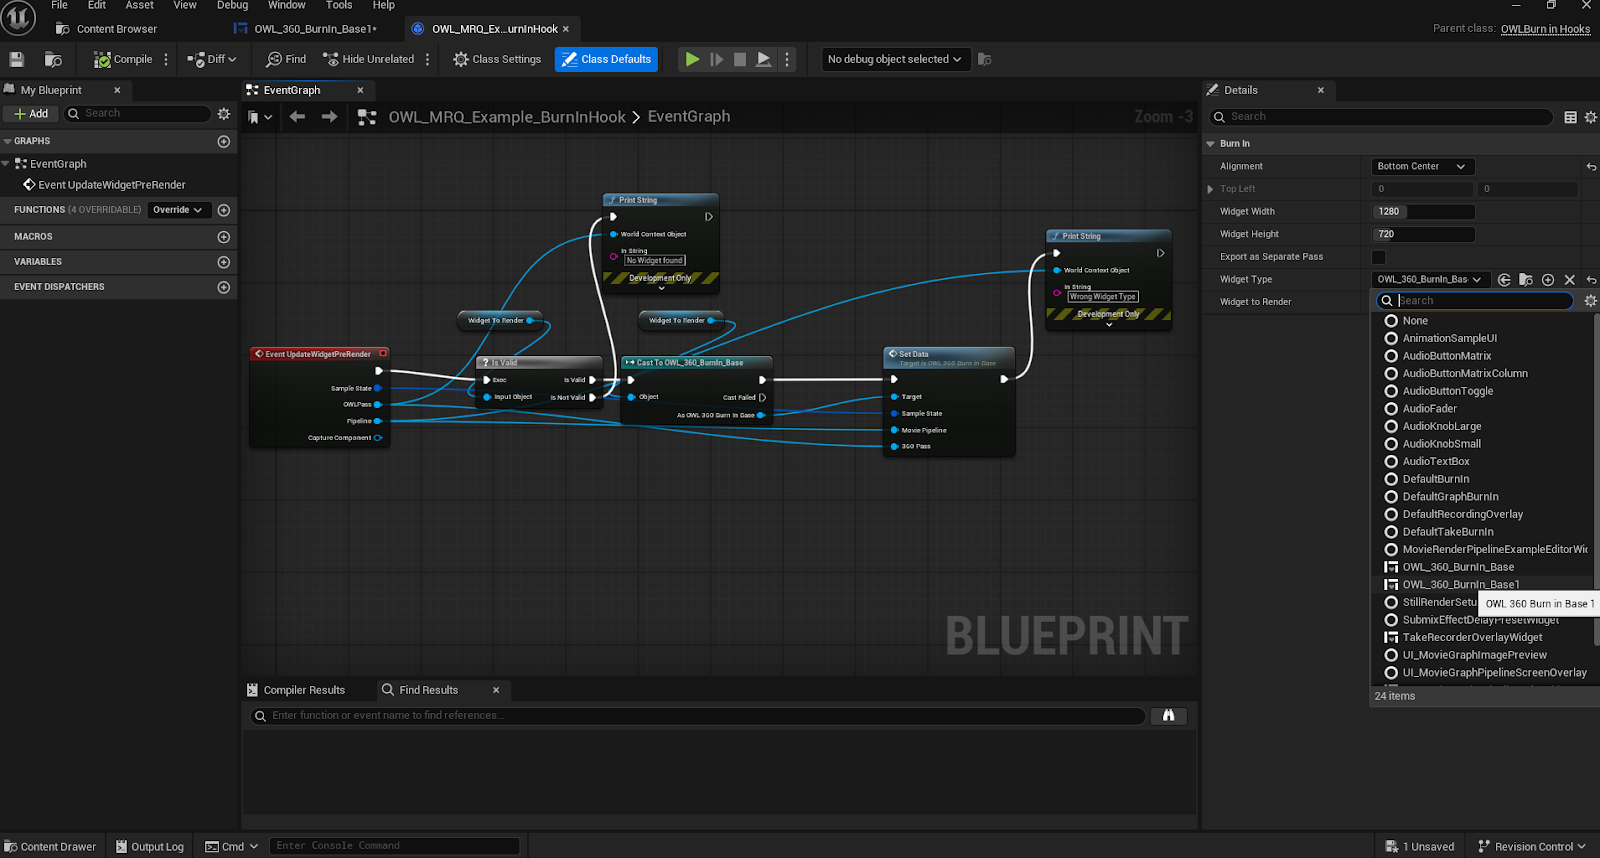
-
The Hook will now point to the new Widget, ensure that it is added in the Rendering Hooks section of the MRQ settings:
-